
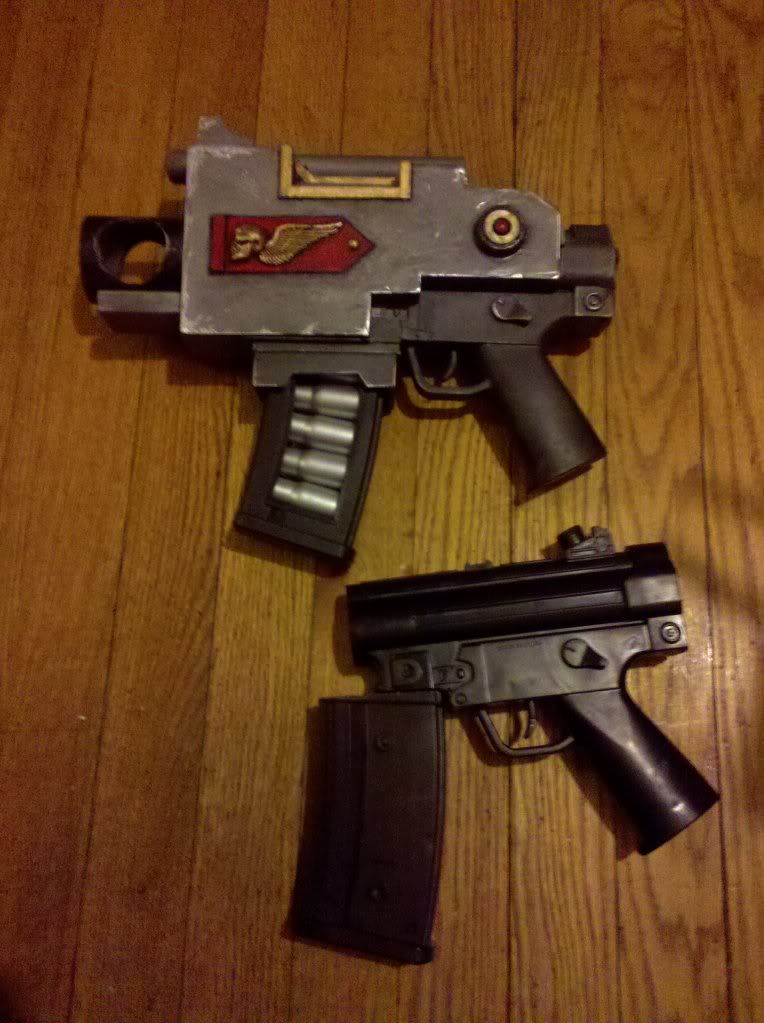
Hello, a number of people have asked me to post a "how-to" for the bolt pistols I made. So that is what this is.I built these pistols one after the other, so there will be pictures of the WIP one next to a completed one.Damn this site, It seems to hate my photos and chopped them all in 1/2. so click them for the "full effect".
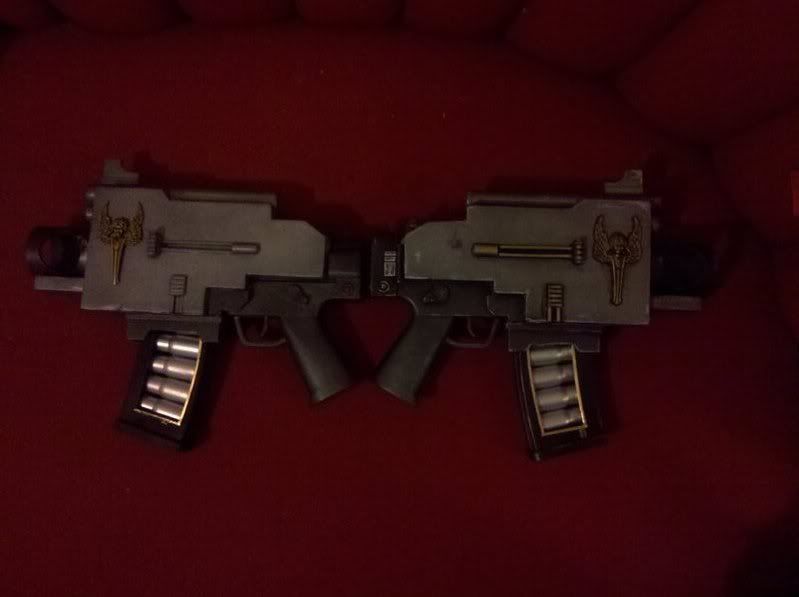

They where insipred by the awsome bolt pistol made by Kommissar which can be seen here http://bolter.blog.com/
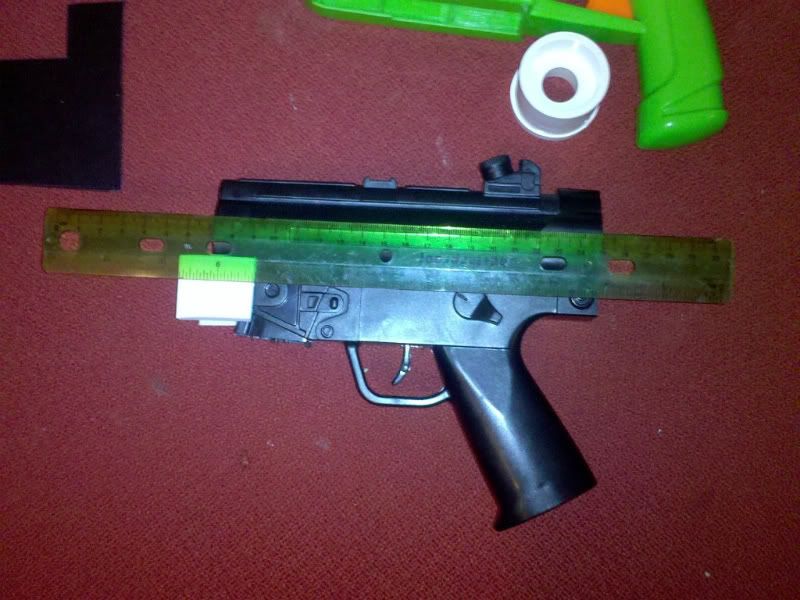
The base for the pistols I made where 2 cheap toy MP5 style guns I found at a General Dollar store for $8 dollars each.
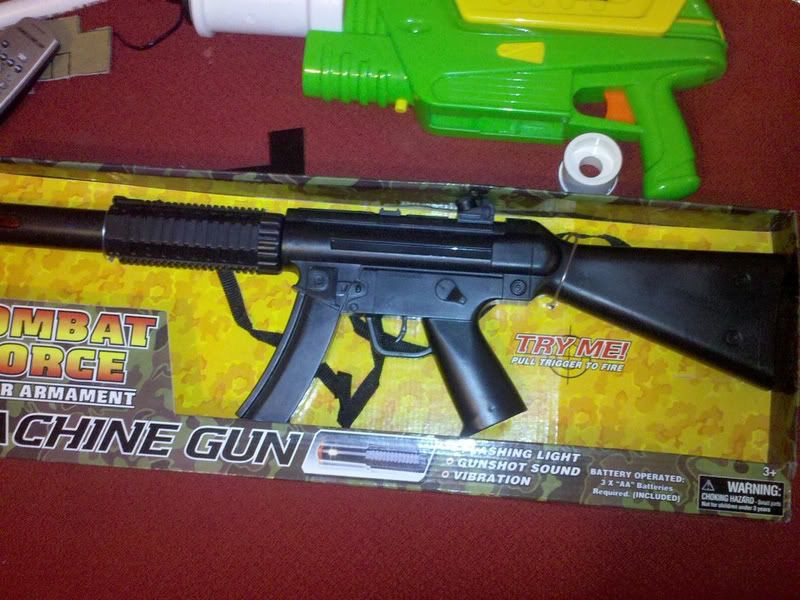
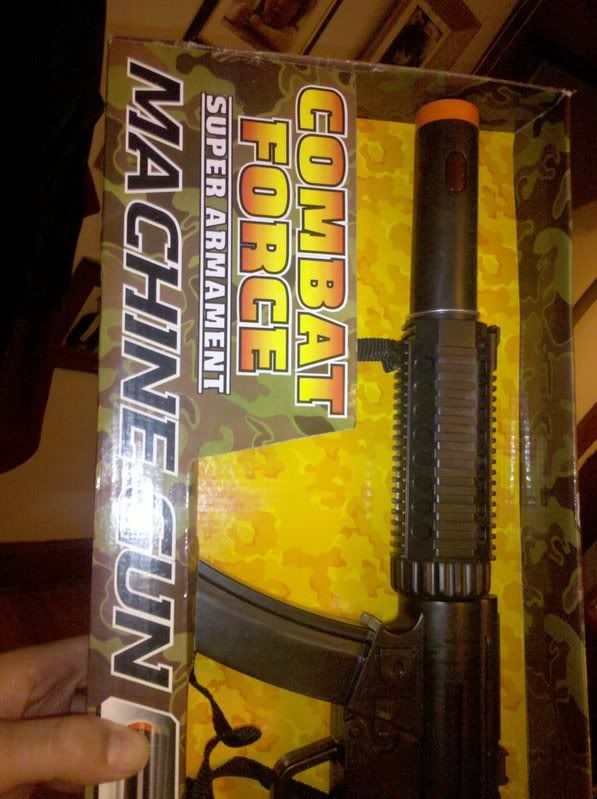
Because this is a childs toy MP5, it's a bit smaller then a 1:1 scale airsoft gun. This suited me fine because I was making these for my GF's Adeptas Sororitas ( Sister of Battle) Costume.
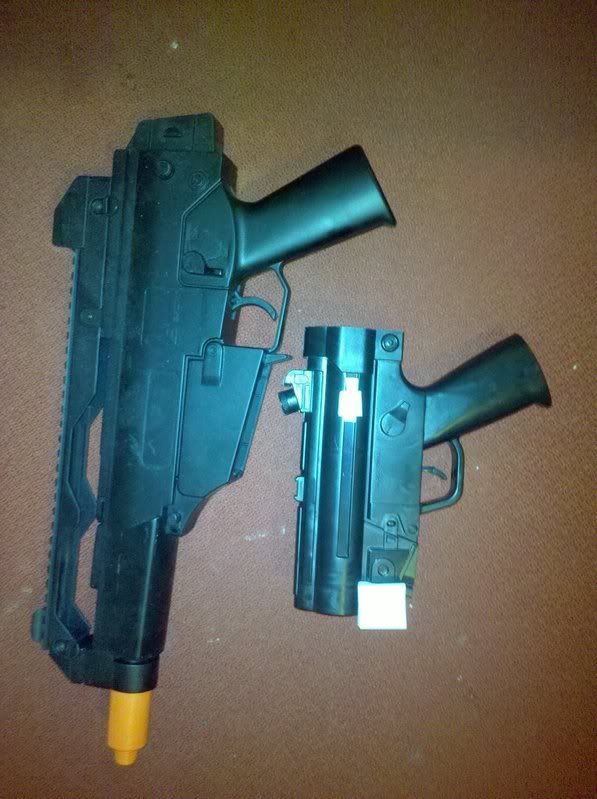
As you can see it's not off by huge amounts and was cheaper then buying even spring loaded airsoft guns( like this M85) . One note however, I did use airsoft mags to make the one for the bolters which came with the M85.There are other choices to make mags from however...more on that later.
1St thing I did was take it apart and remove the electric bits.
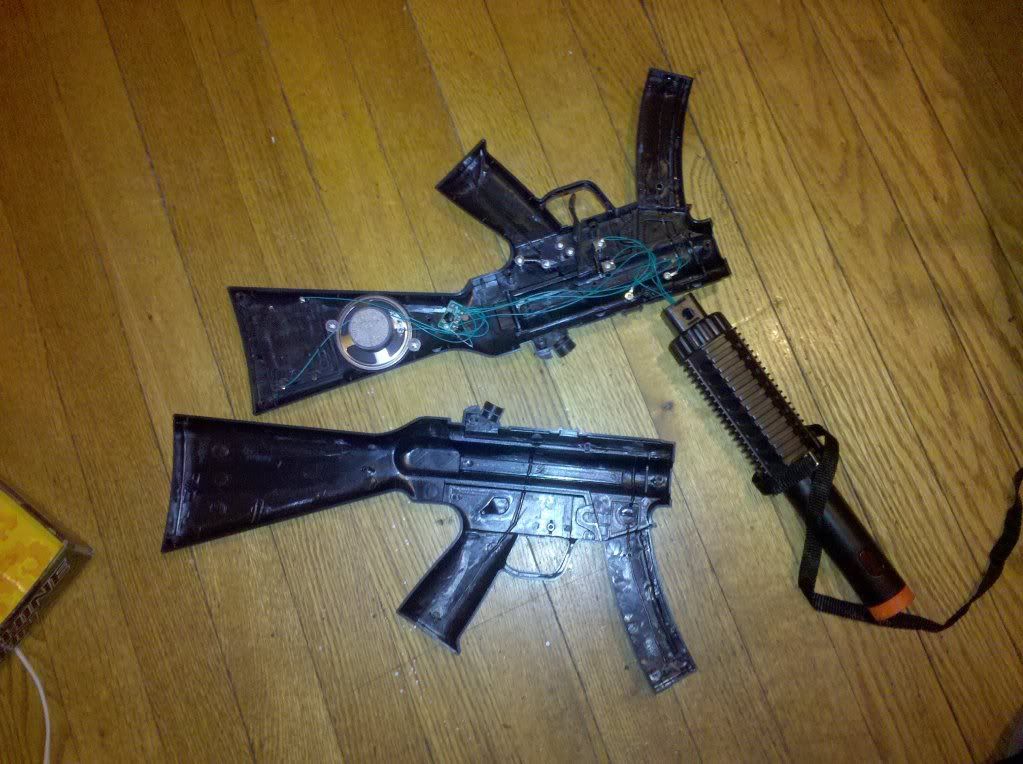
Next was to use a small hacksaw ( one for PVC piping) to cut the stock off.
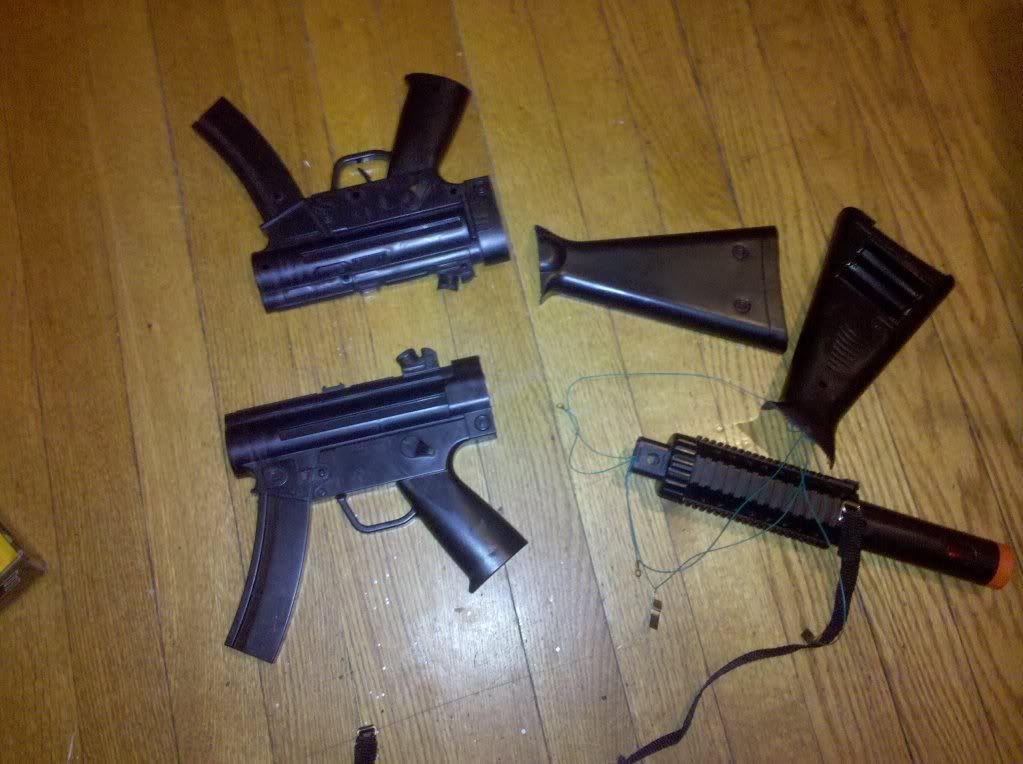
And then marked the mag for cutting.
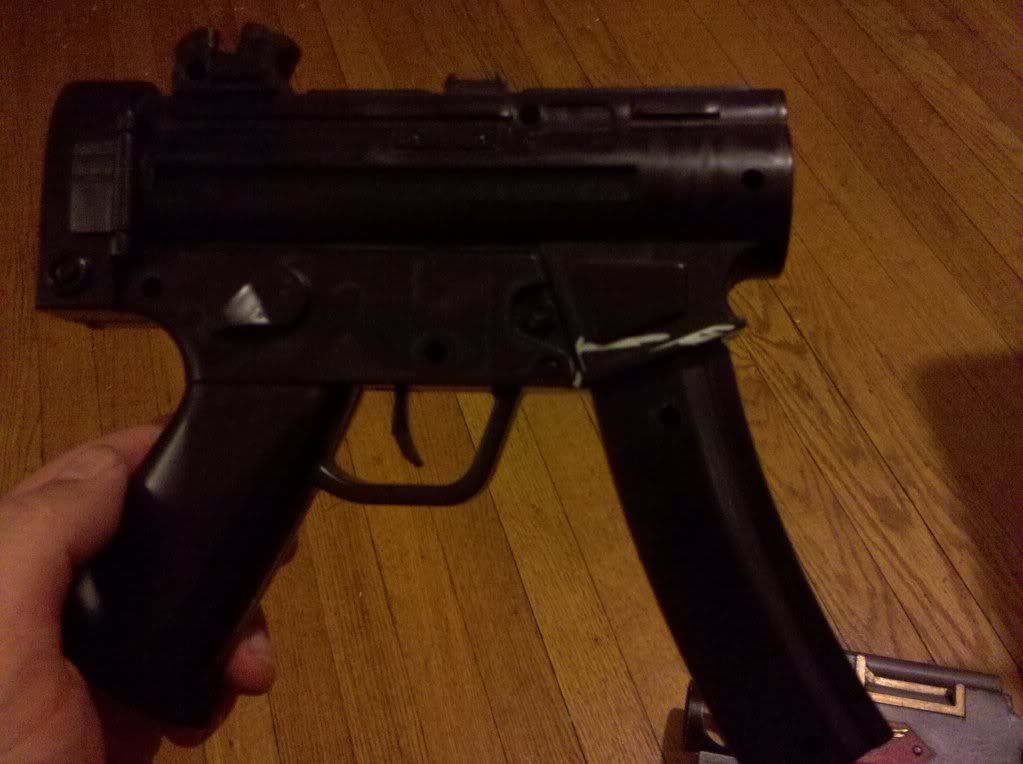
Removed.
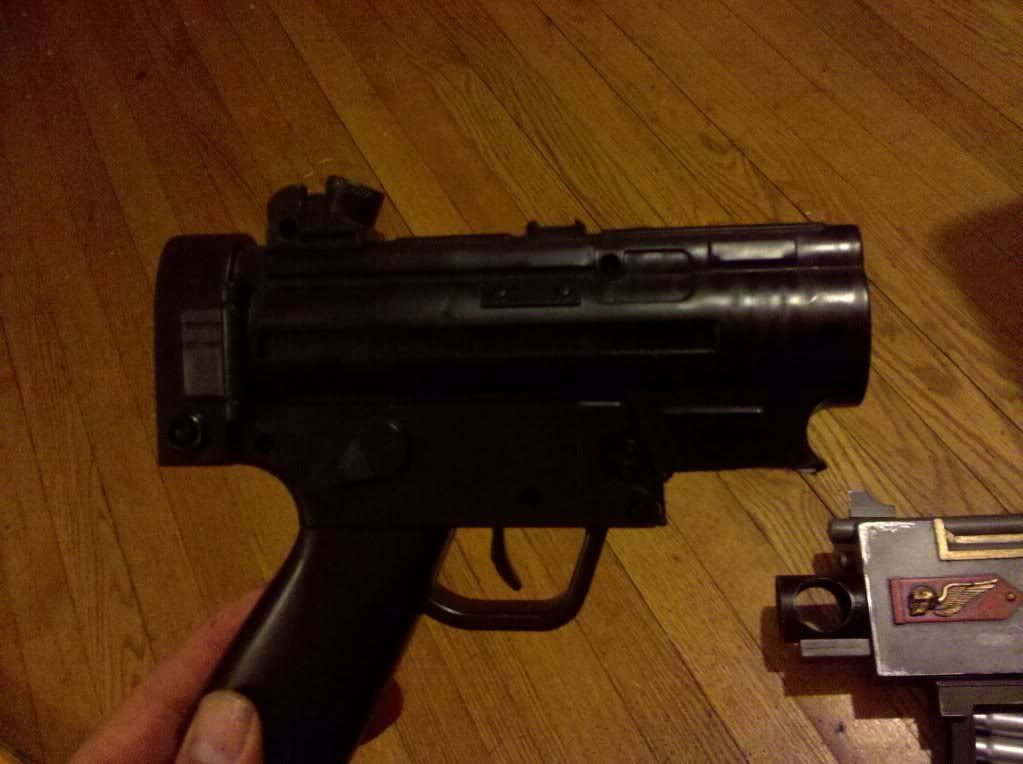
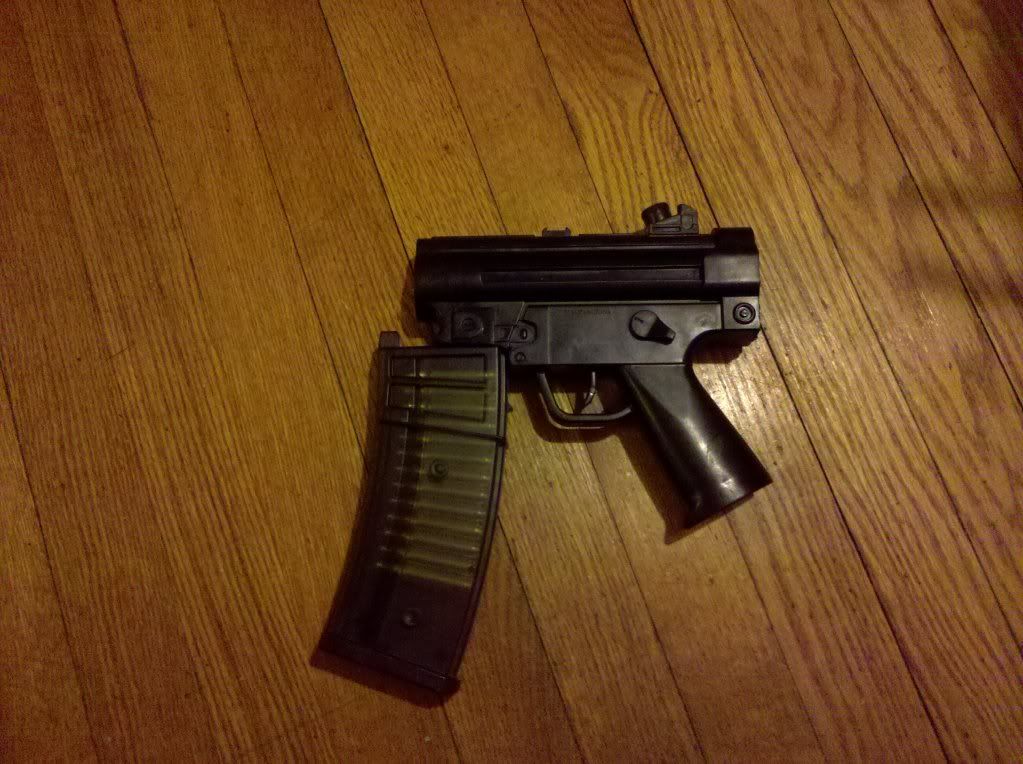
Here is the M85 clip roughly in place for where it will be.
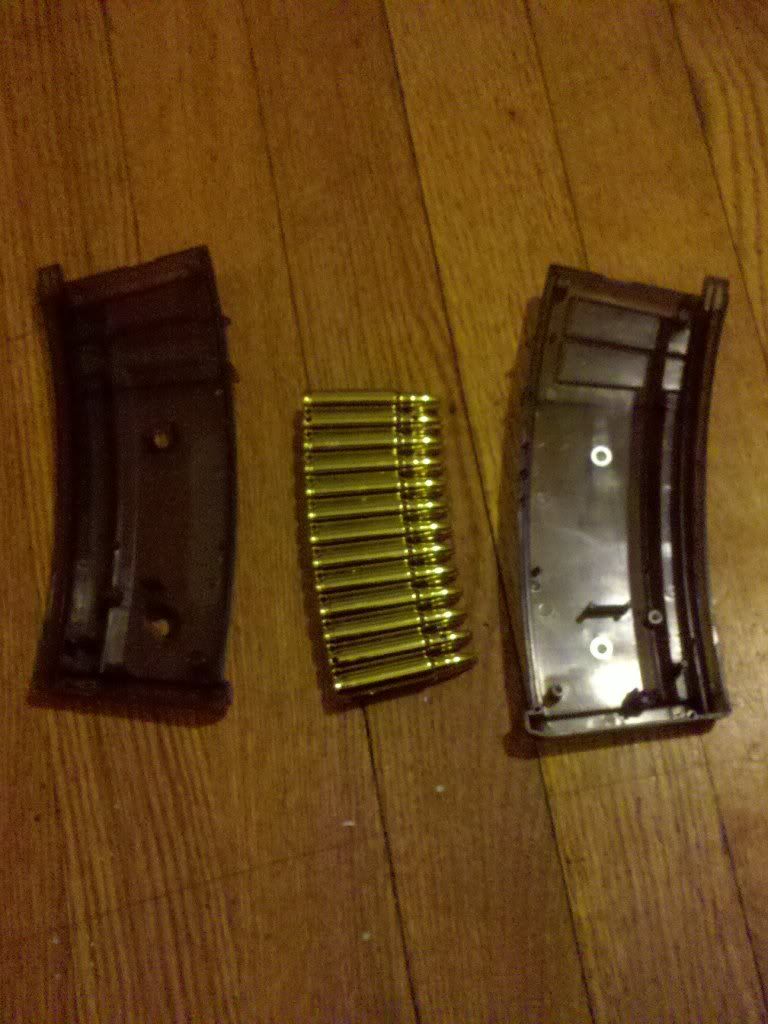
Next, take the mag apart.
Here I cut off the top portion of the mag.
I marked the sides for cutting.
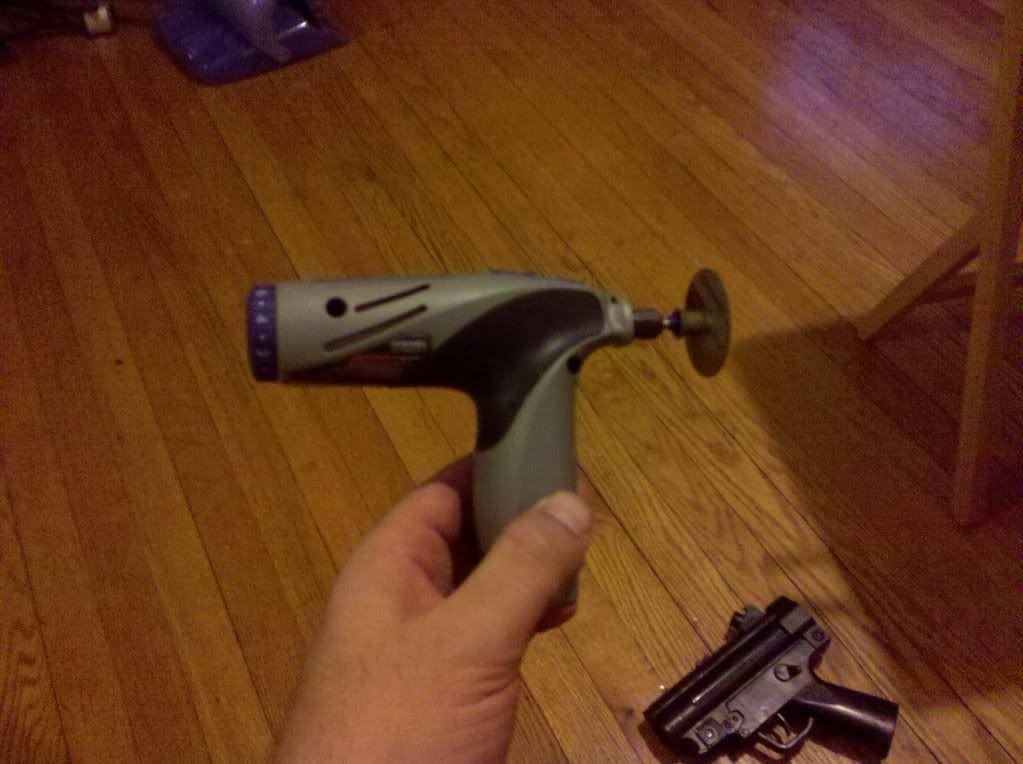
I used the new Dermel Stylus to do the cutting.
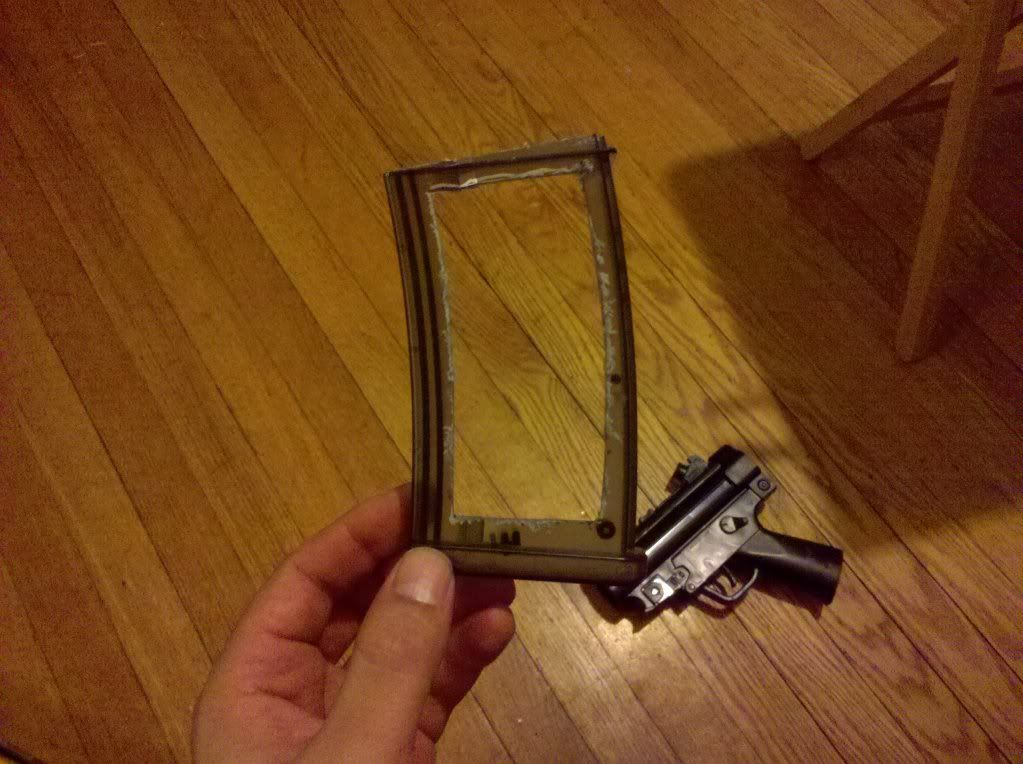
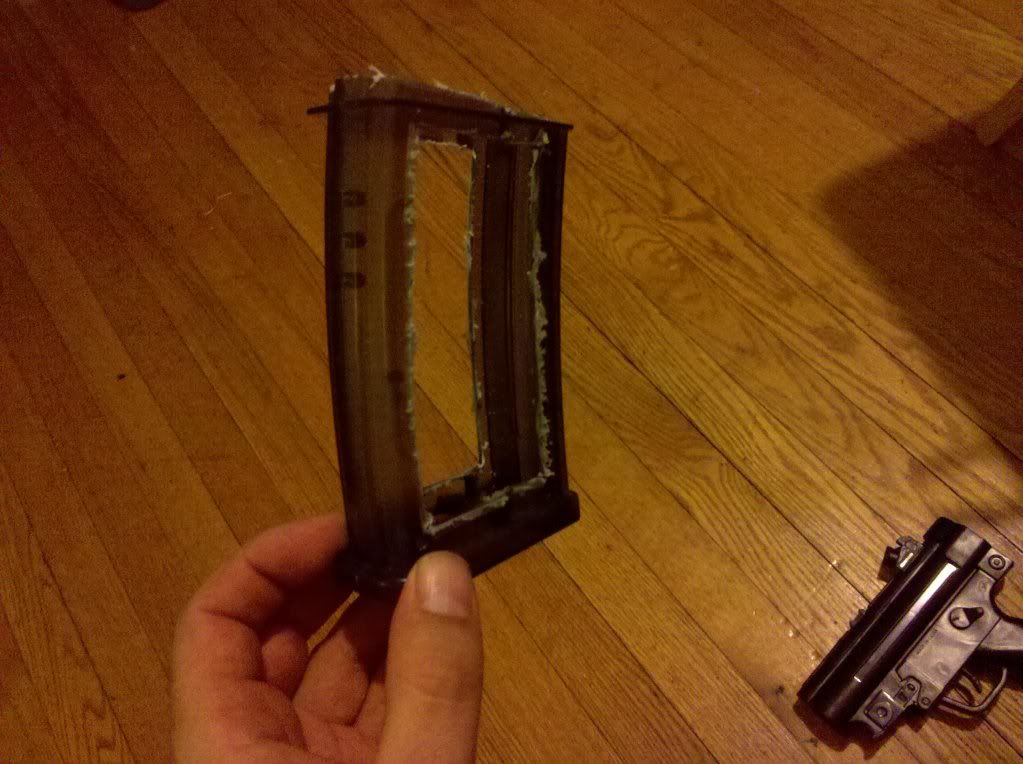
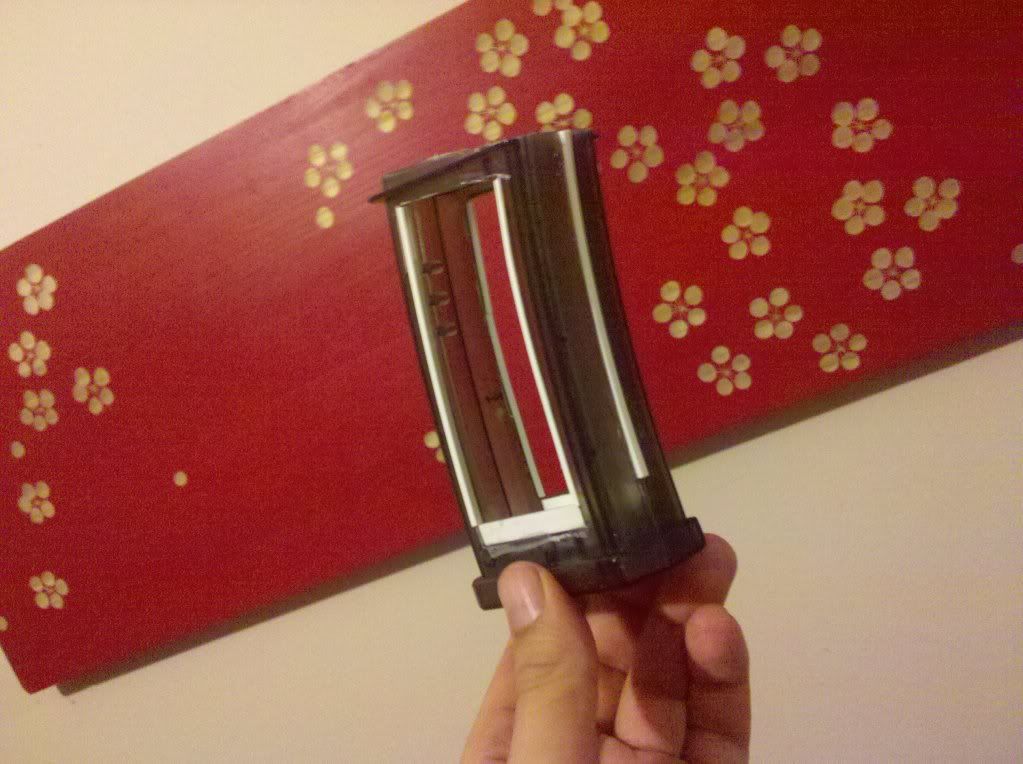
I kinda f*cked up the cutting, I removed to much from the sides and had to build up the walls with plastic strips.
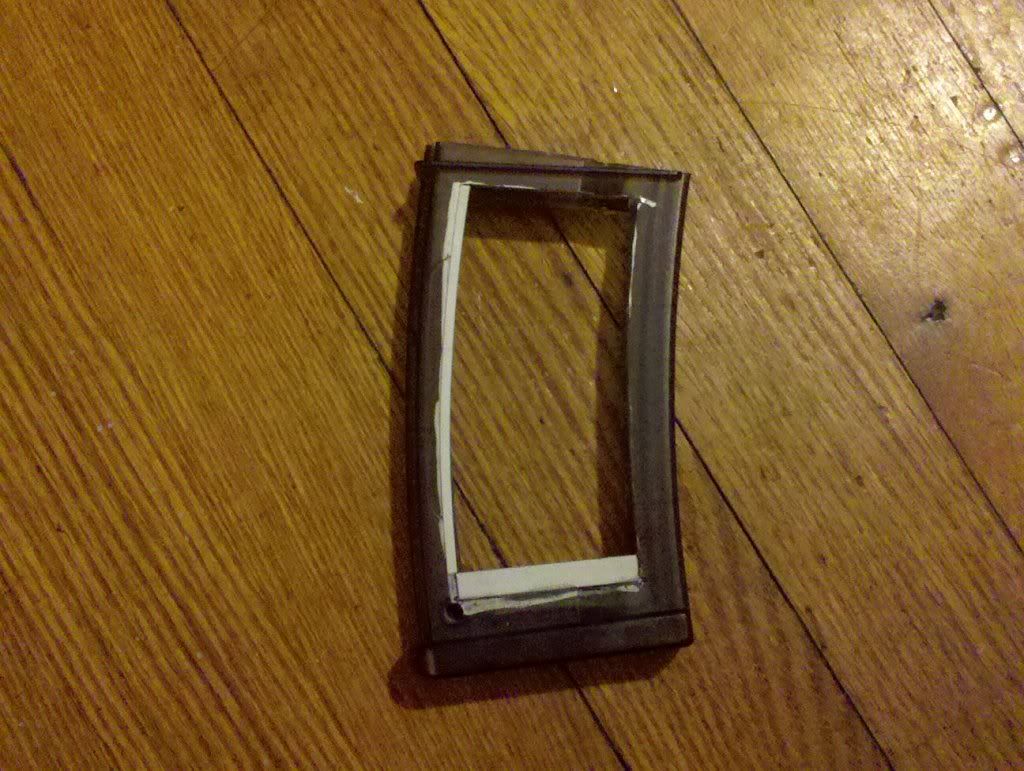
At this point I went ahead and did all the clip trim now.
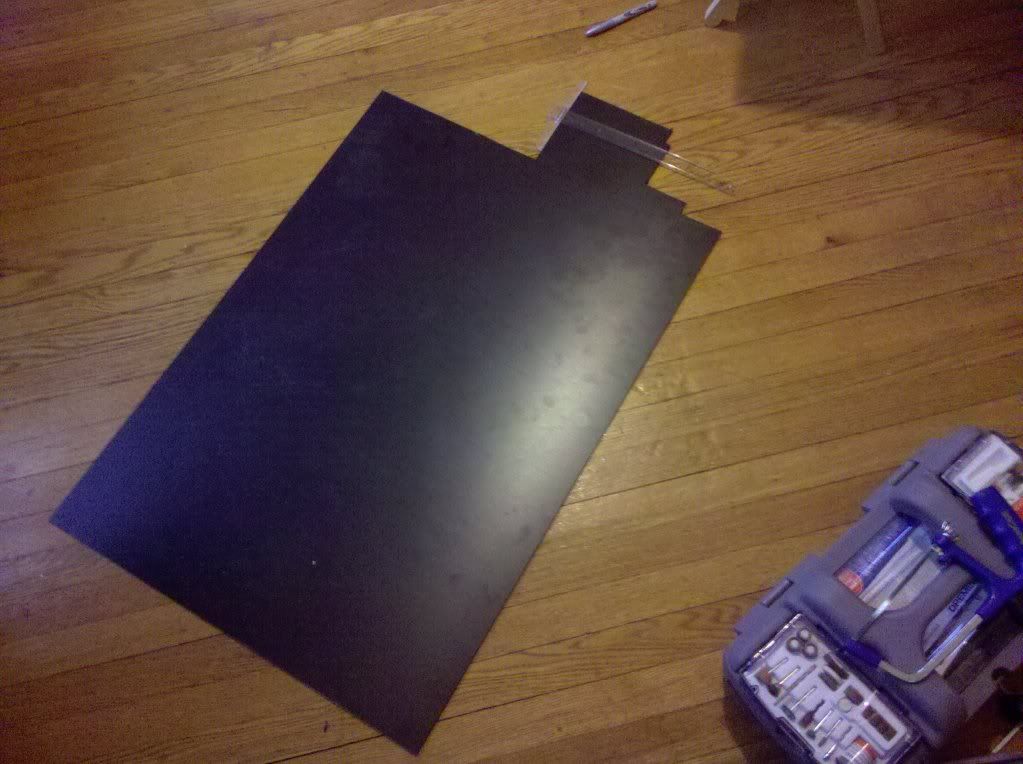
Next I started to cut out the main shapes from ridgid PVC expanded foam sheet.This stuff is used to make signs and is light wieght,strong , you can shape it with heat and non toxic.
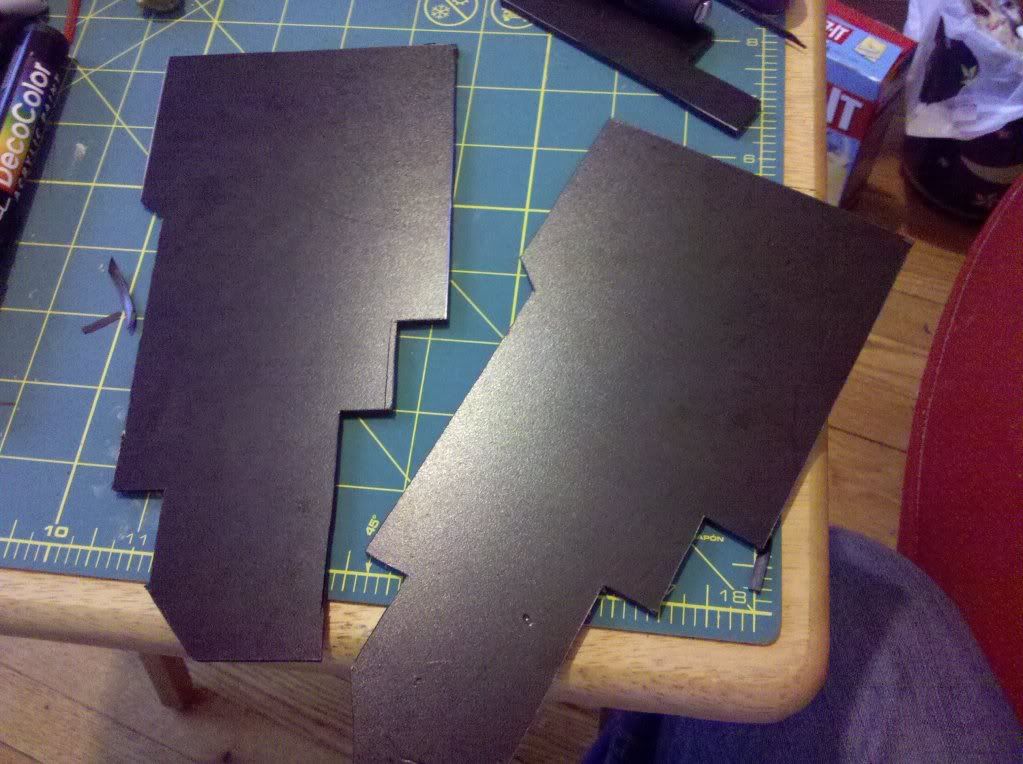
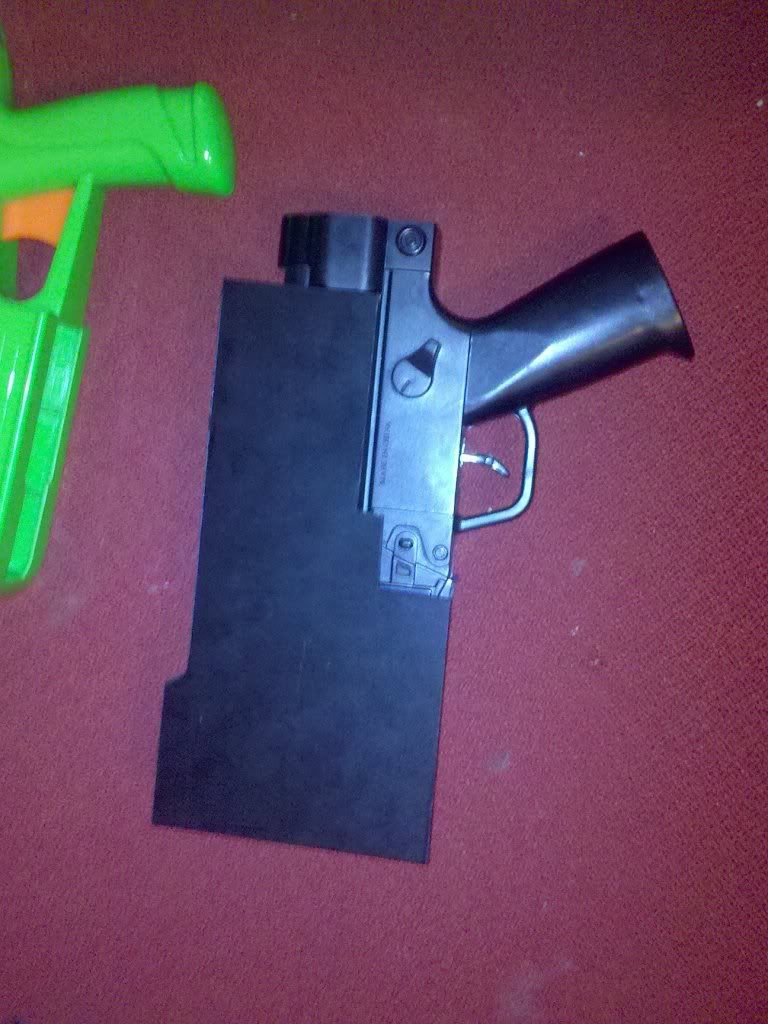
Next I started to build the body up, I used hot glue to build most everything on these guns, it bonds well to the PVC foam and gives you 5 to 10 sec to adjust parts if needed. It also acts as a filler which comes in handy later.
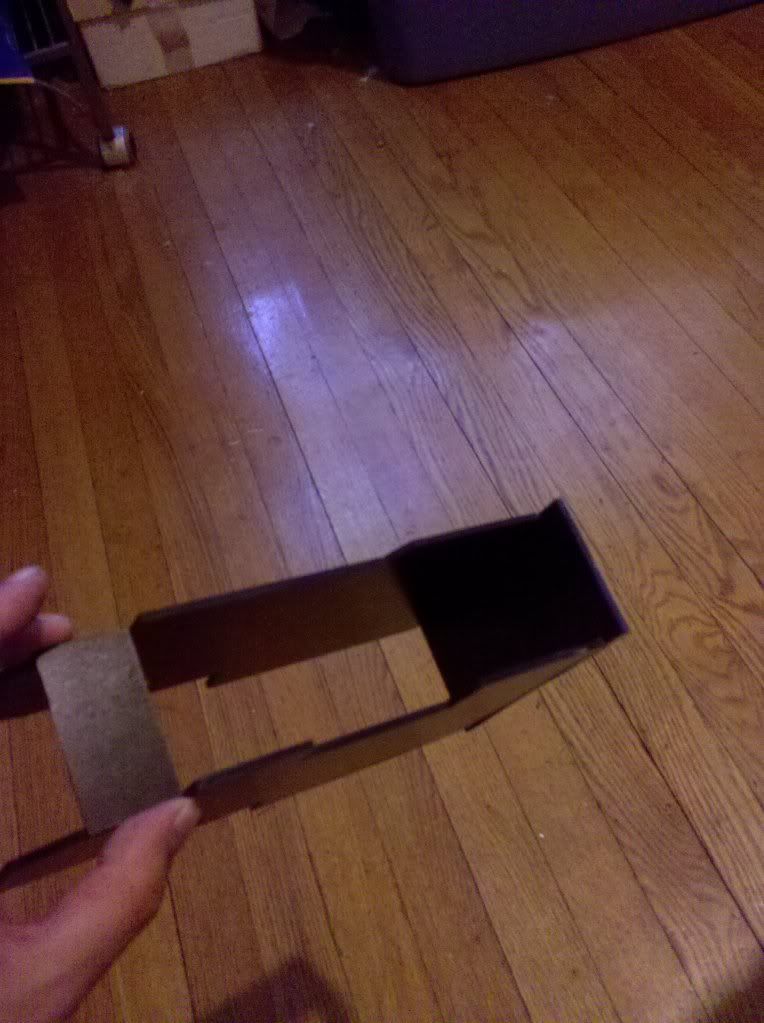
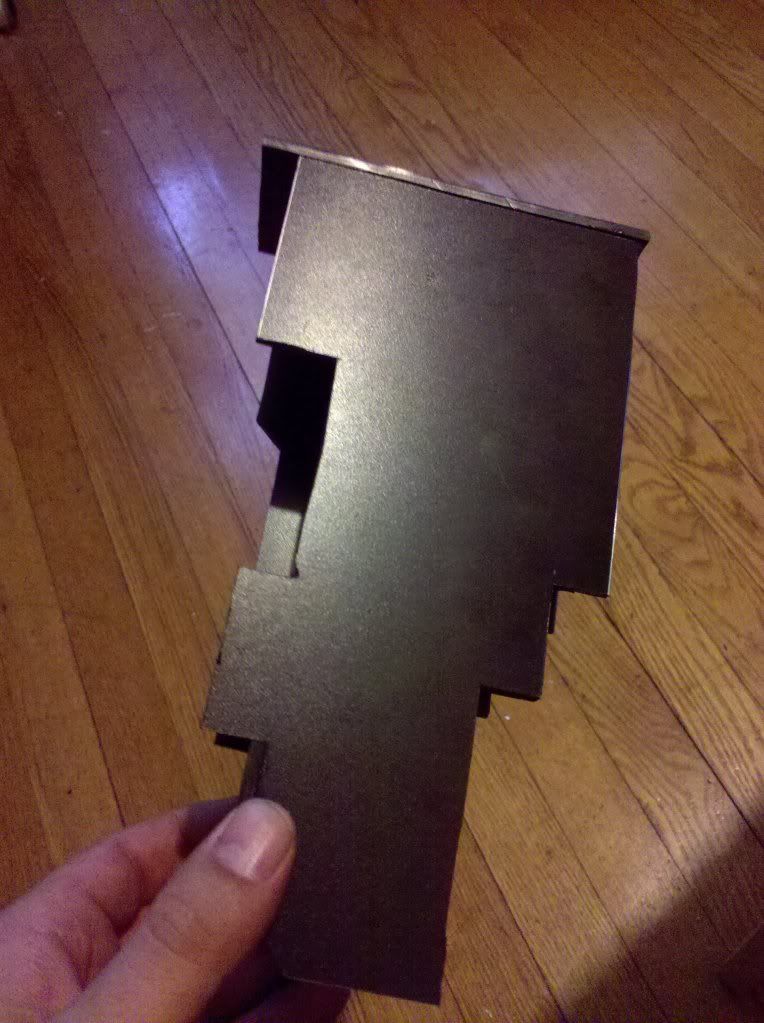
Here you can see where I added some craft foam to the sides of the gun to help hold the shell inplace, otherwise the gun is to narrow to attach the PVC shell to it. I used craft foam becouse it has flex to it allowing for shifting and shock abosrbing.
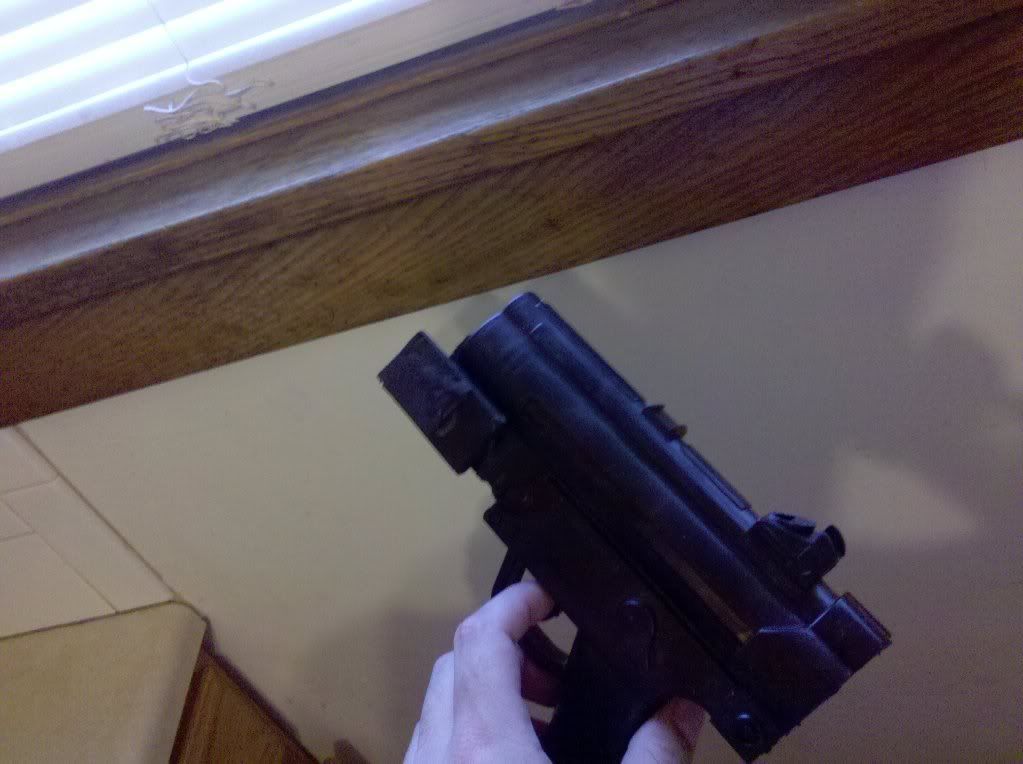
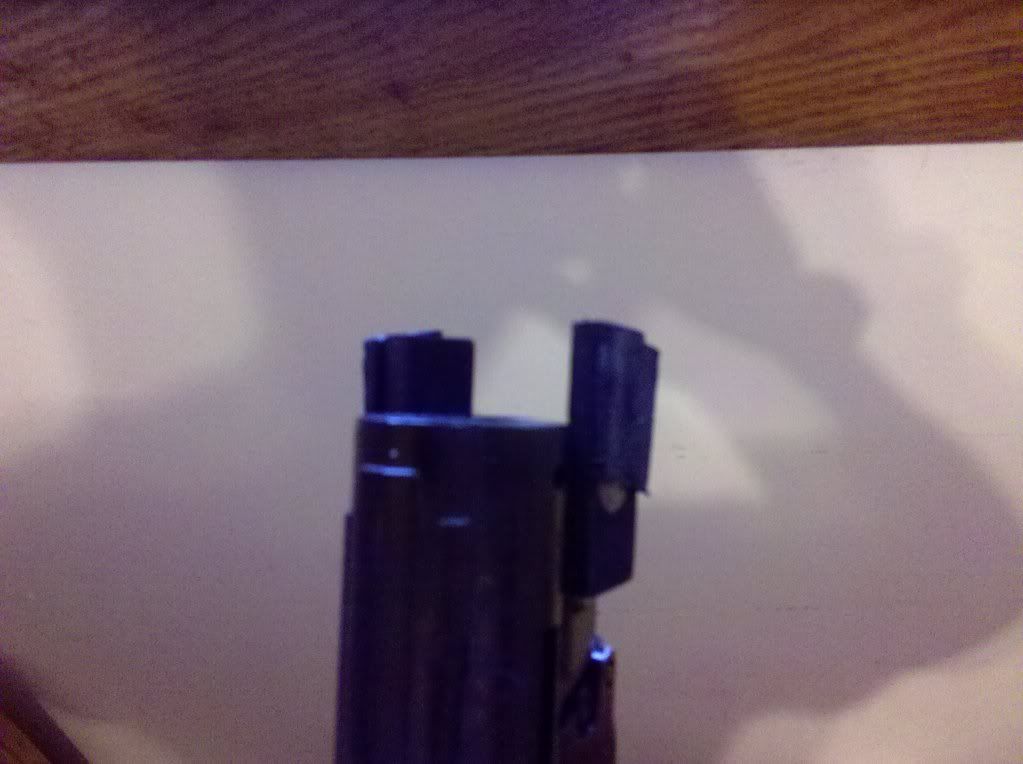
Here is a cross peice added to hold the shell on and stop it from sliding to far down once it is glued.
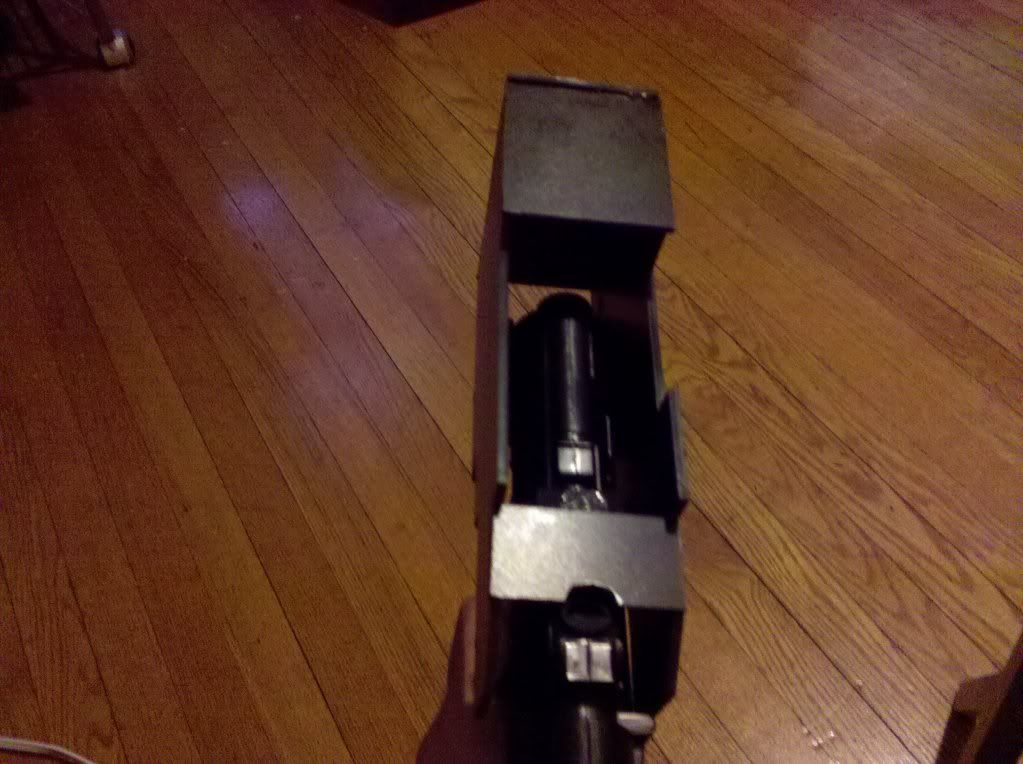
Glued on.
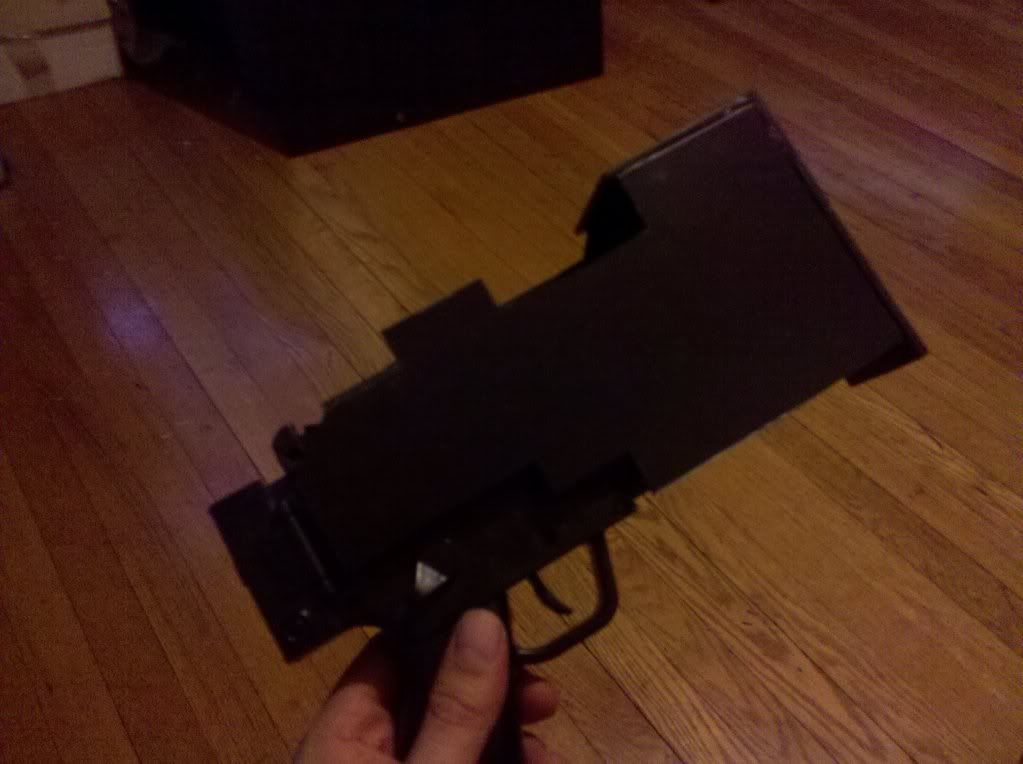
Top sheet added.
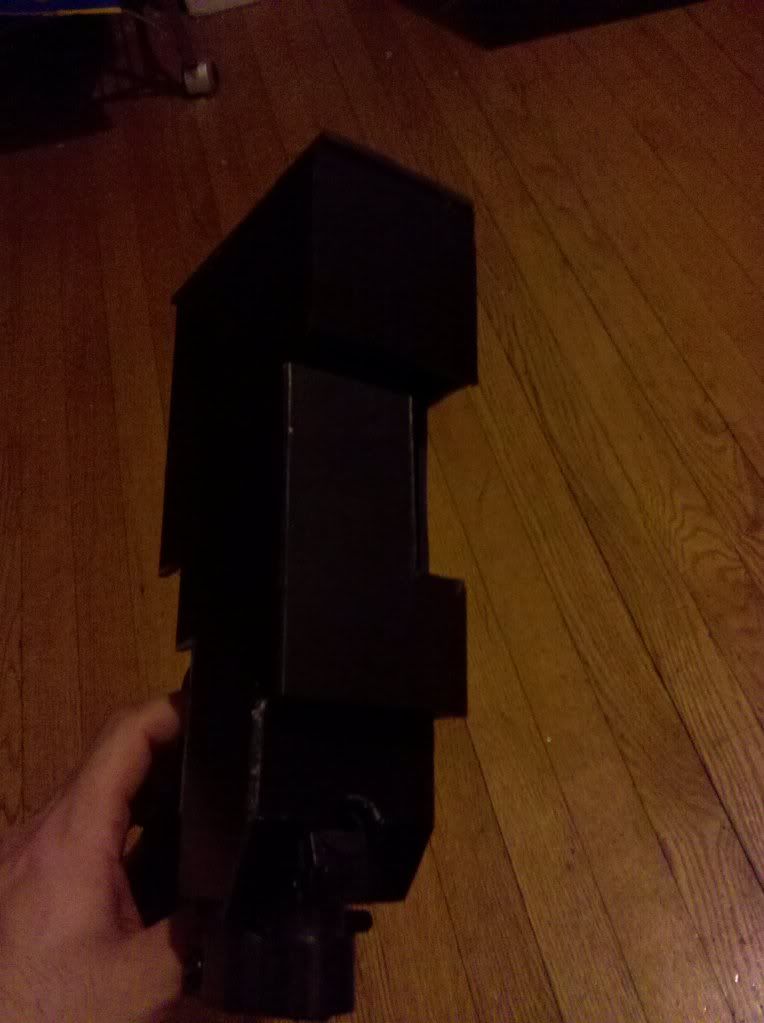
Side view.
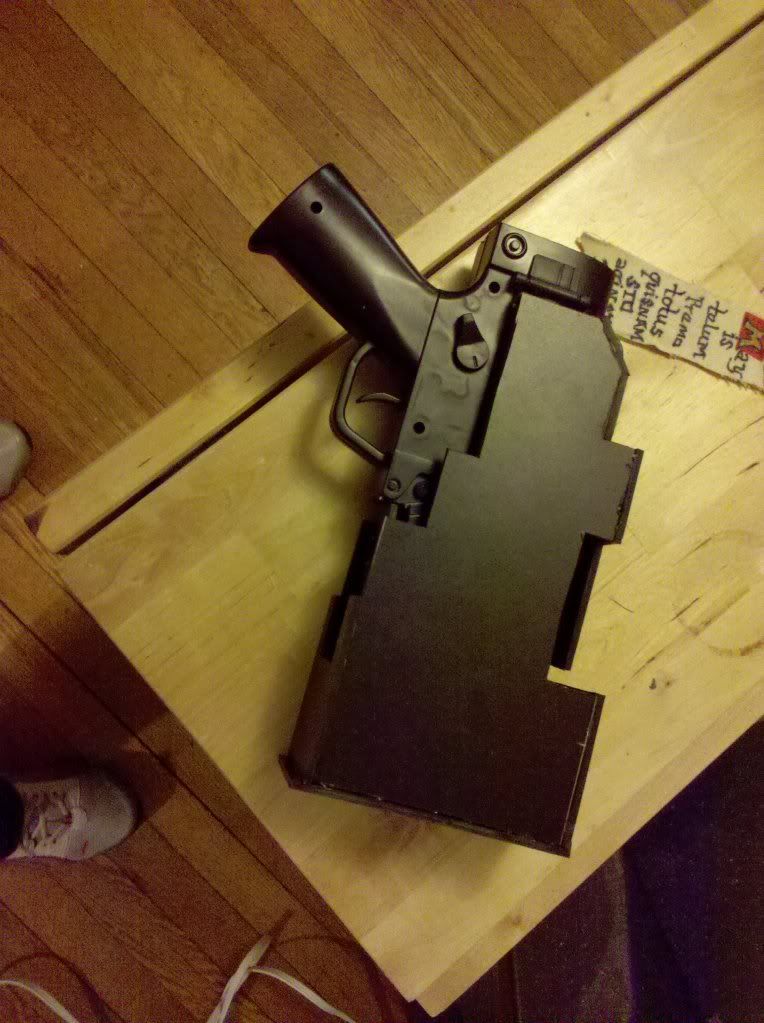
Other side.
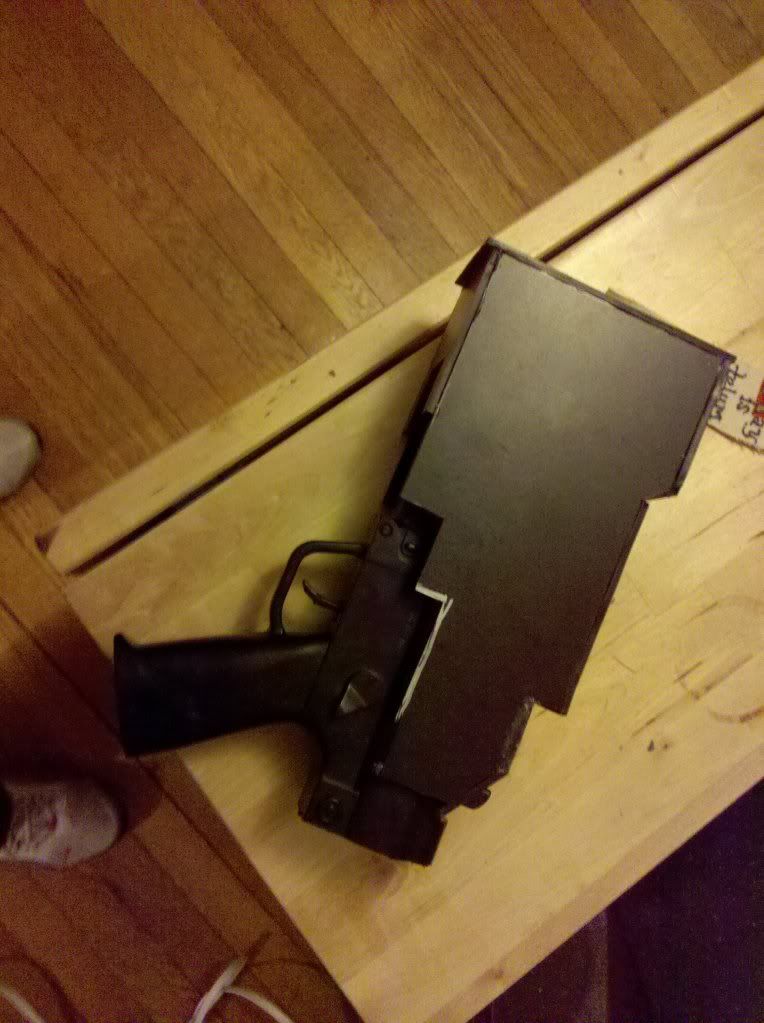
Here it is with the body all blocked in and the magazine in place.
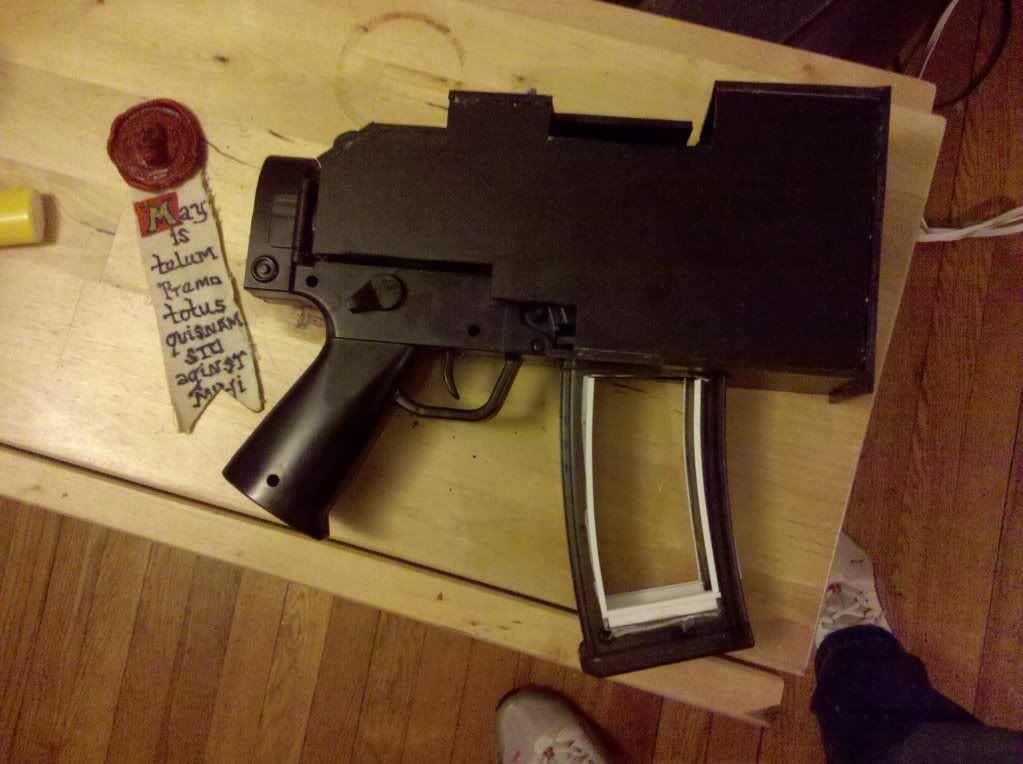
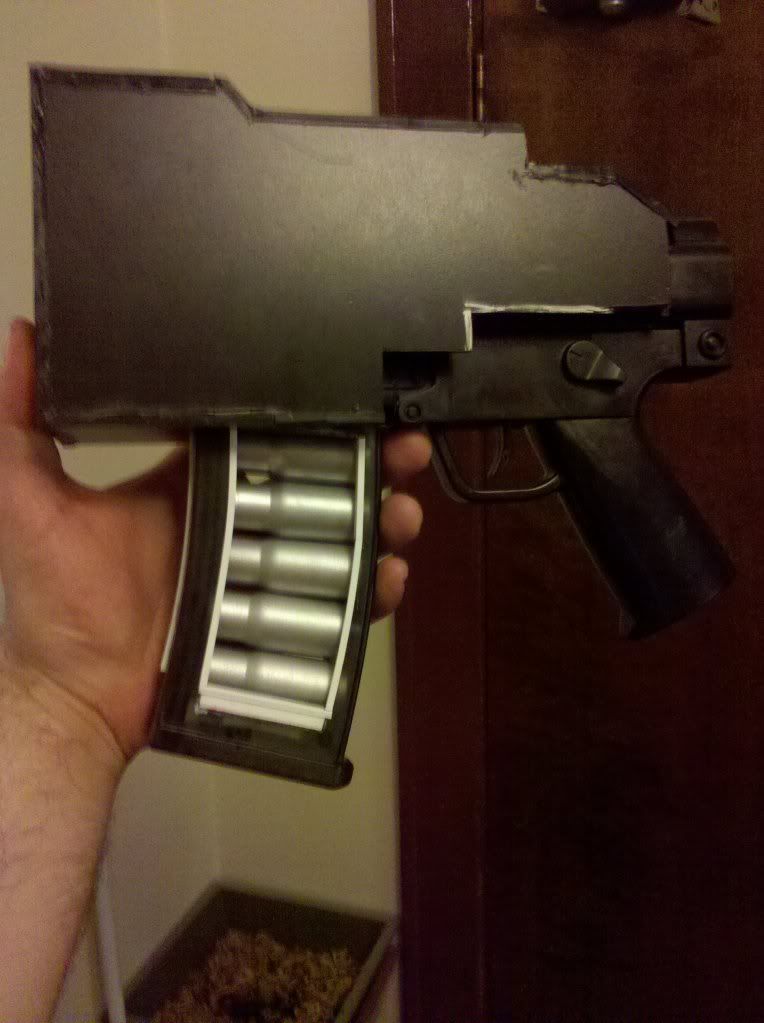
Here it should be noted that when I built the 1st Bolt pistol I was figuring out how to do a lot of this stuff for the 1st time. So here are some shots of how I built the ejection port for the shells.
It started off with both sides being the same, no cut outs, unlike the 2nd pistol which I set out with the cutaway built into the plans.
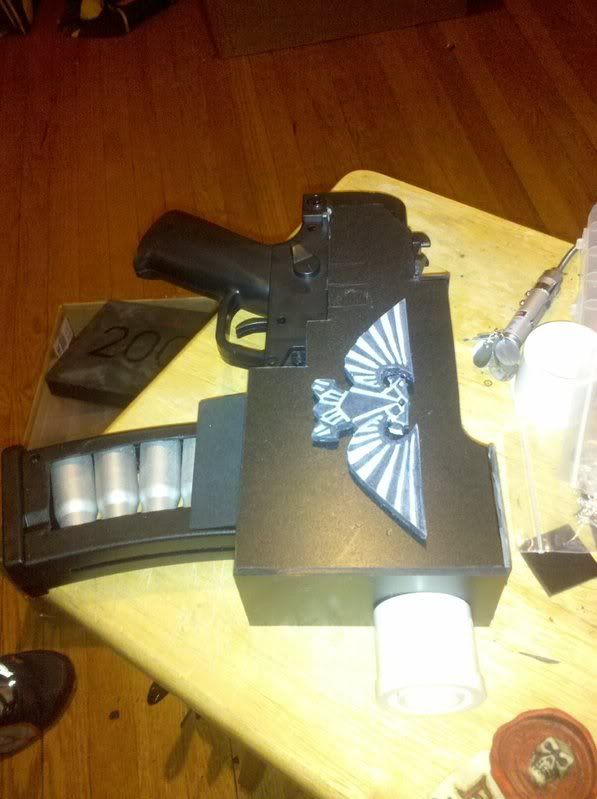
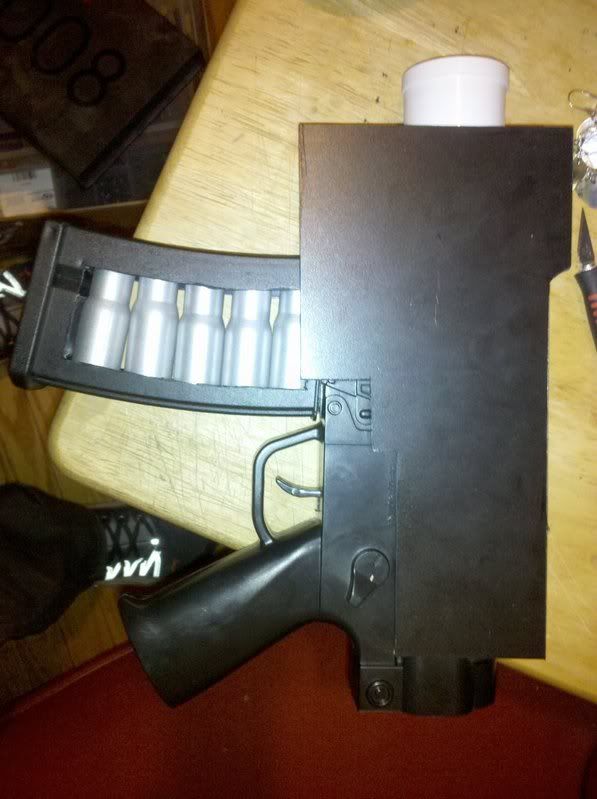
I desided early on that I was going to make a matched pair and I also desided that the 1st one I built was going to be the left one. So I cut the ejection port out, here it is with a piece of craft foam to show where it is.
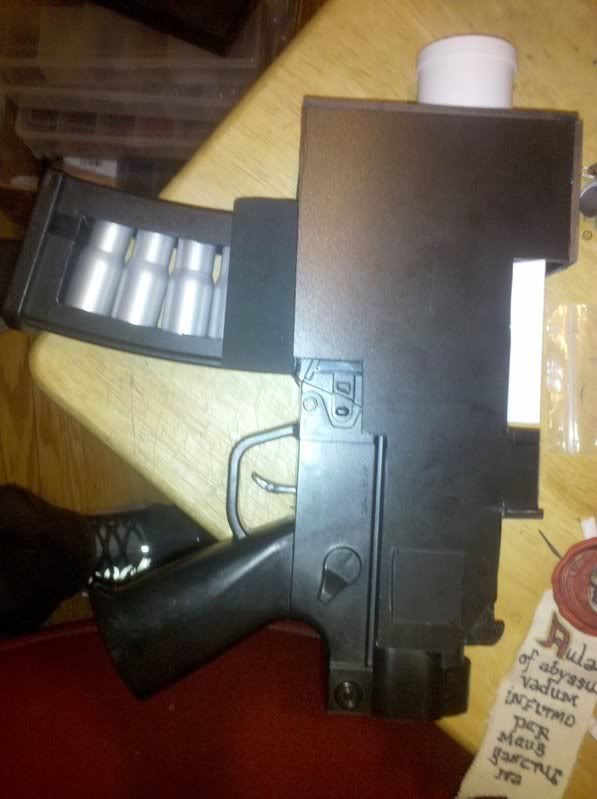
Next I cut and glued a piece of PVC pipe to serve as the cover to the port.Then I cut some PVC foam to fit around the pipe.
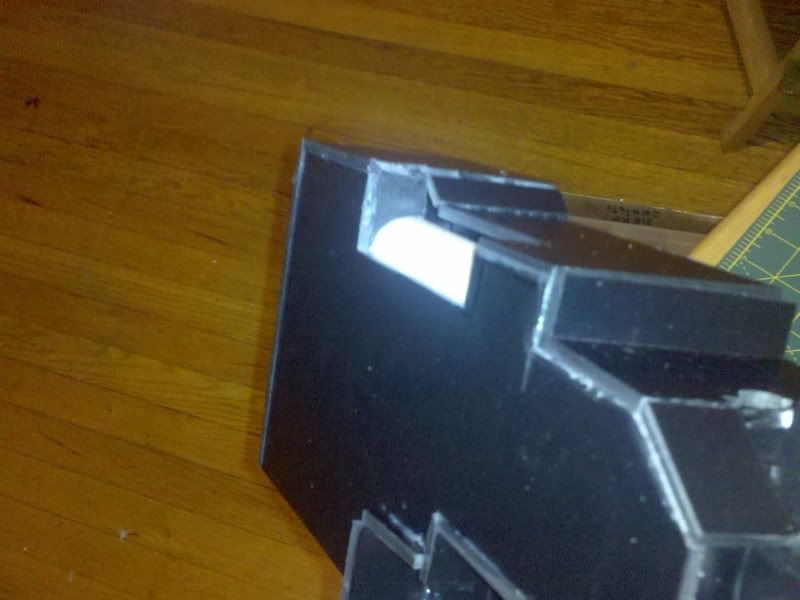
Using "l" shapped plastic stock I built trim around the port.
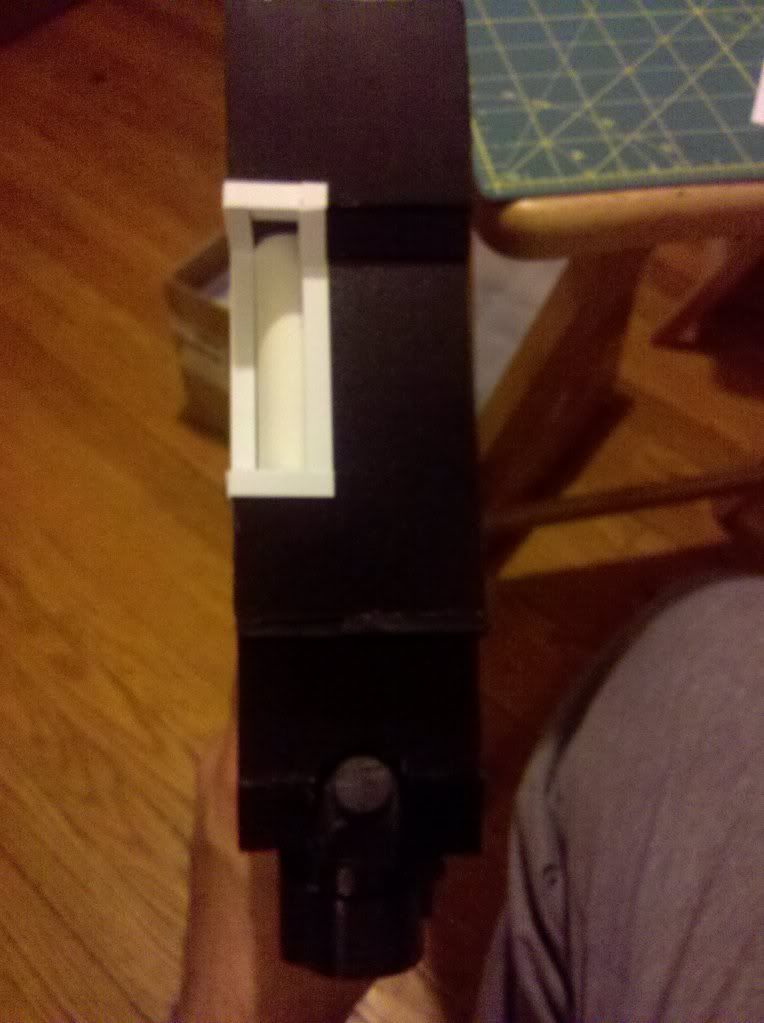
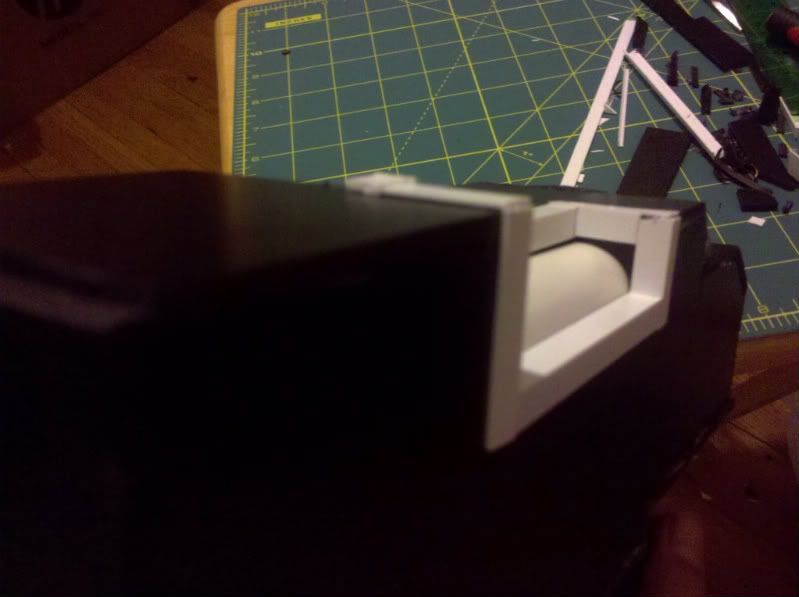
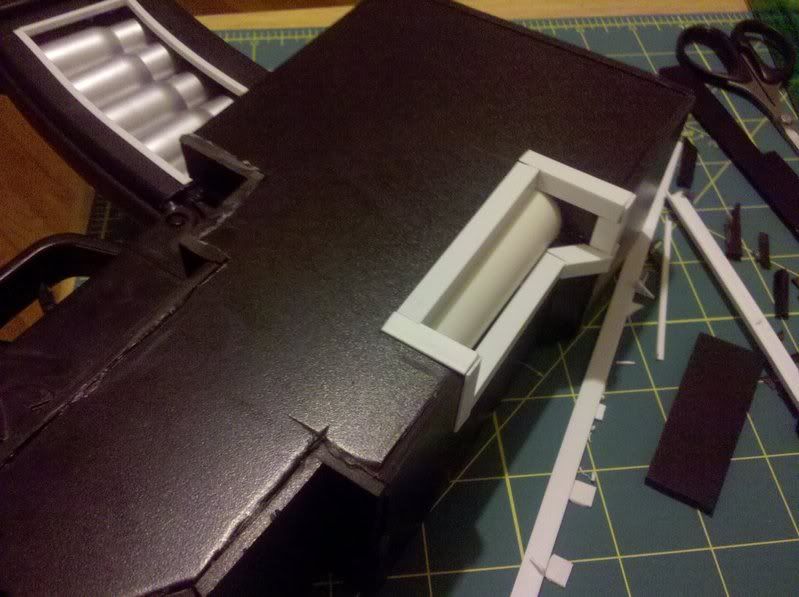
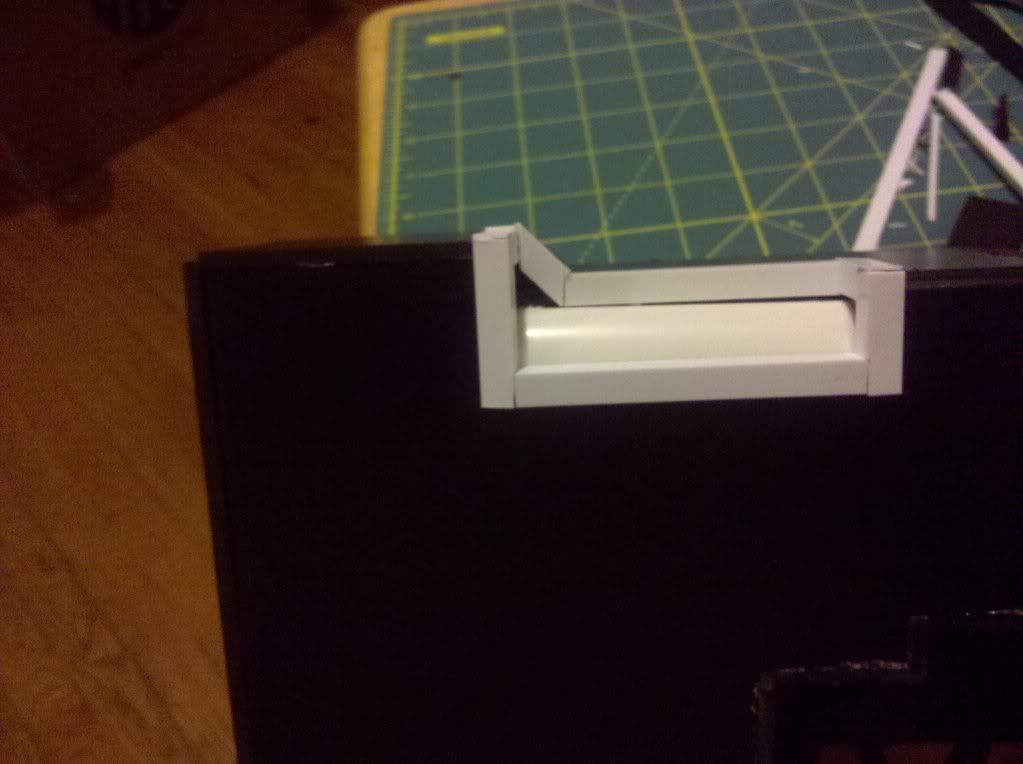
Here is the PVC pipe on the right pistol.
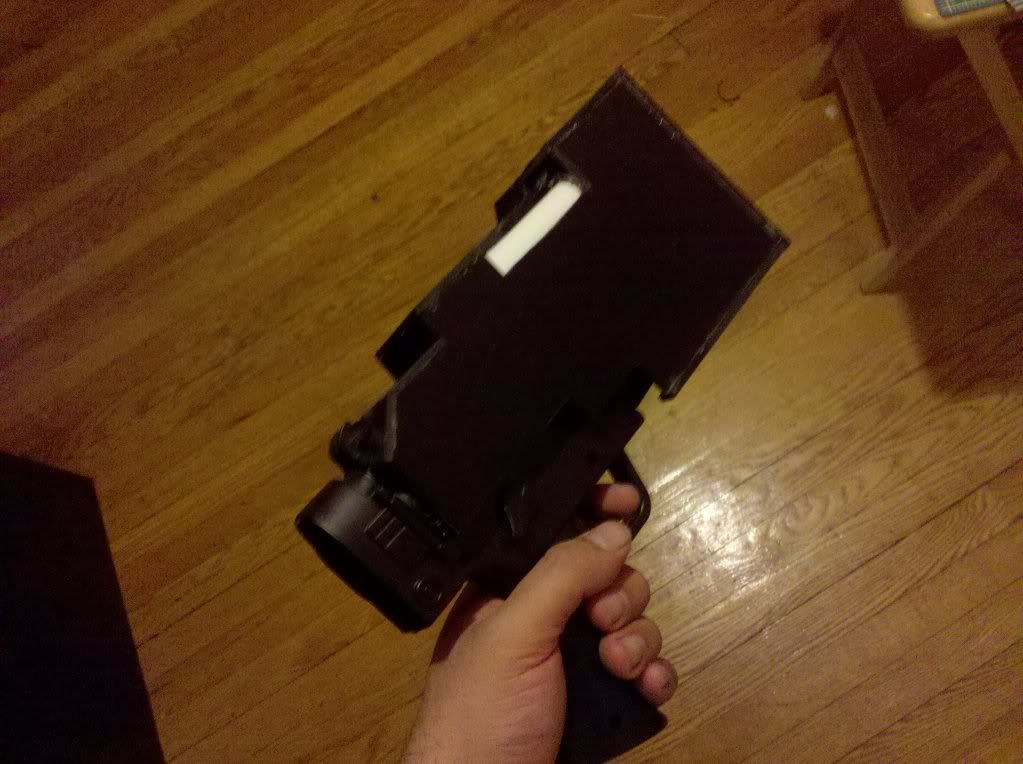
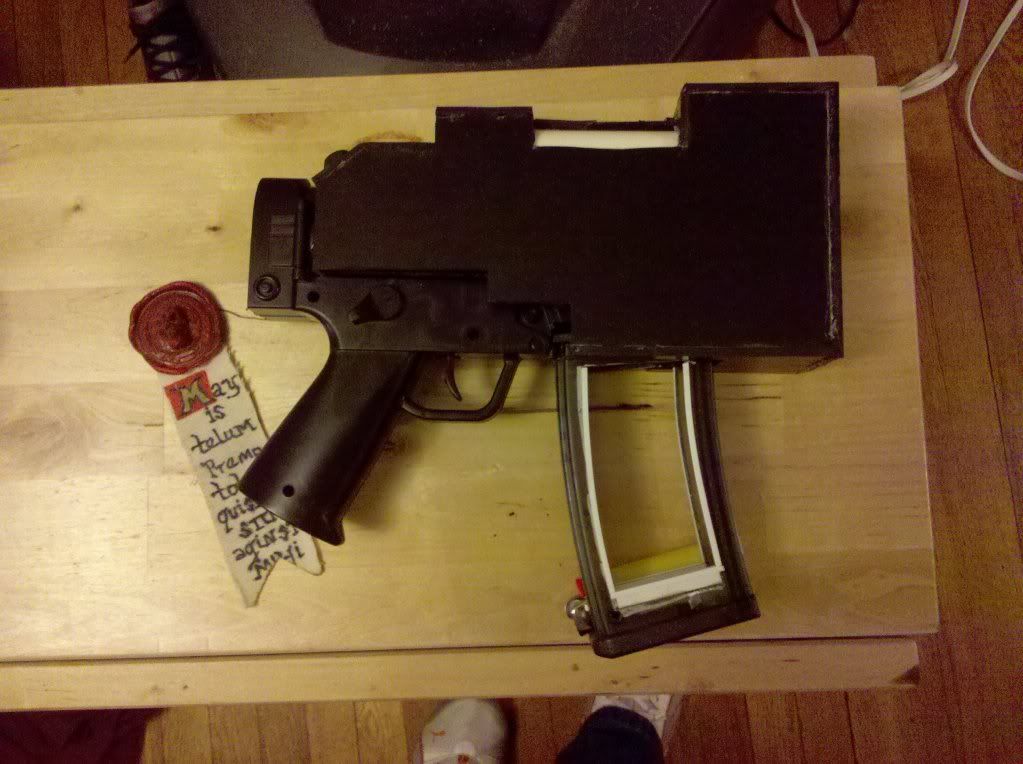
Next I started adding details, like the mag ejection button on the left gun.
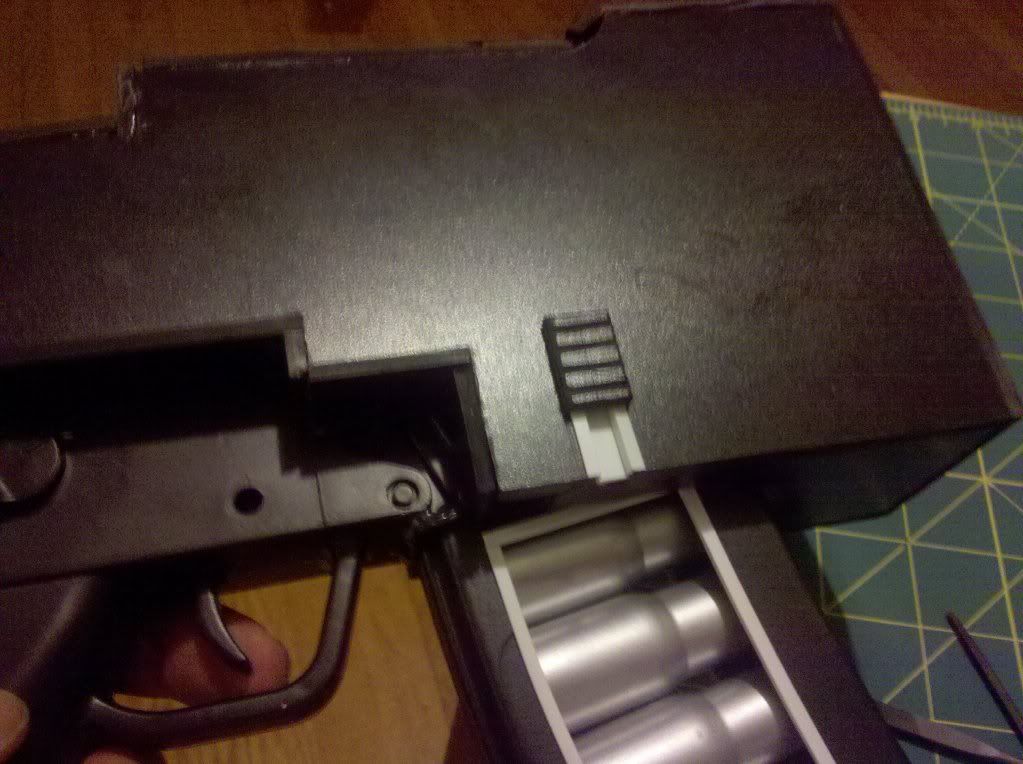
The cocking lever on the right.
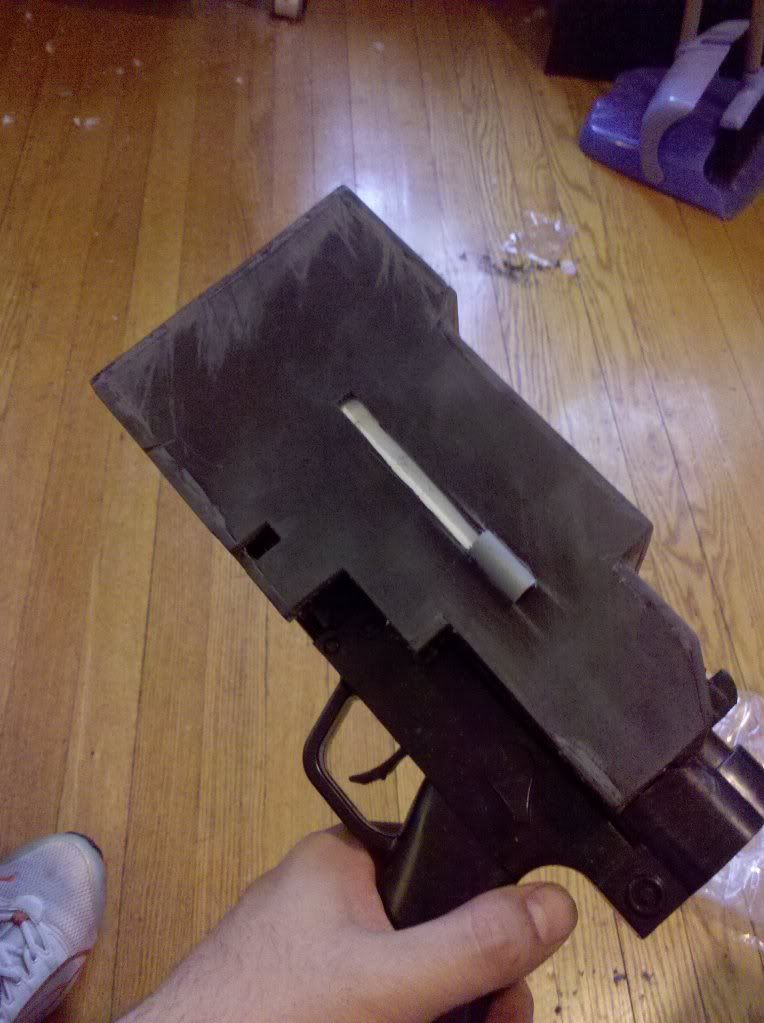
Using another pice of black PVC pipe I added the top rail piece.
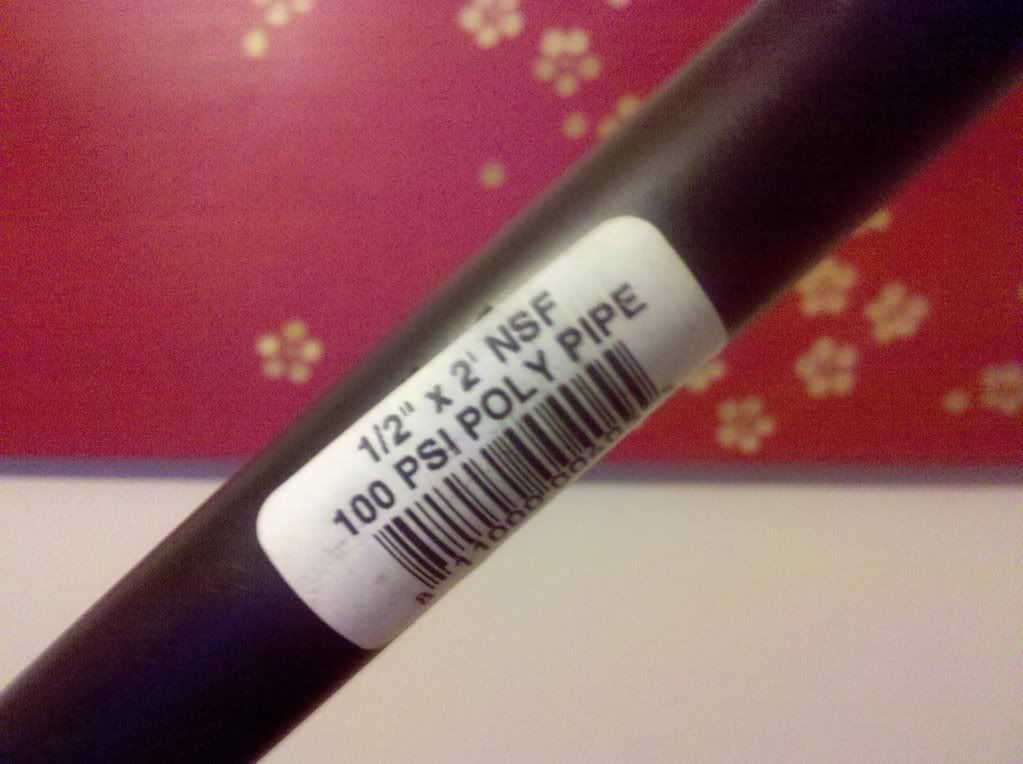
I cut out the bottom section so it fit somewhat flushly to the gun shell.
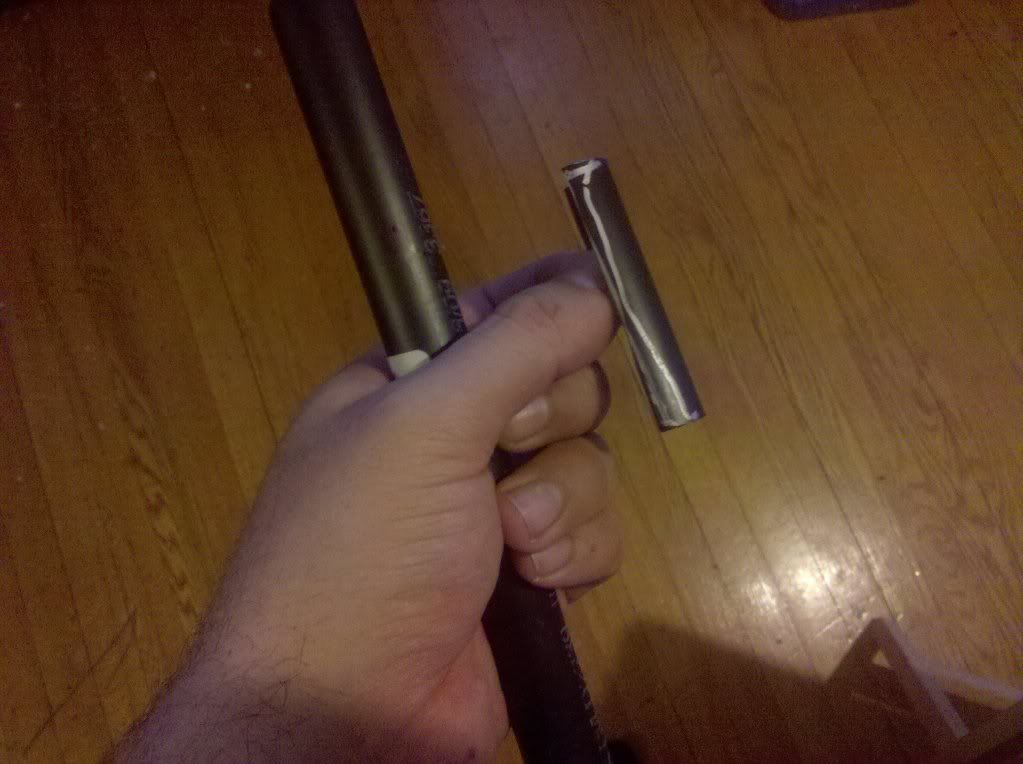
The green stuff is Milliputty which I started adding much sooner then I did on the 1st (left) gun. I should also say I was sanding and trimming while I was building this up, not waiting till the end like I did on the 1st (left) one.
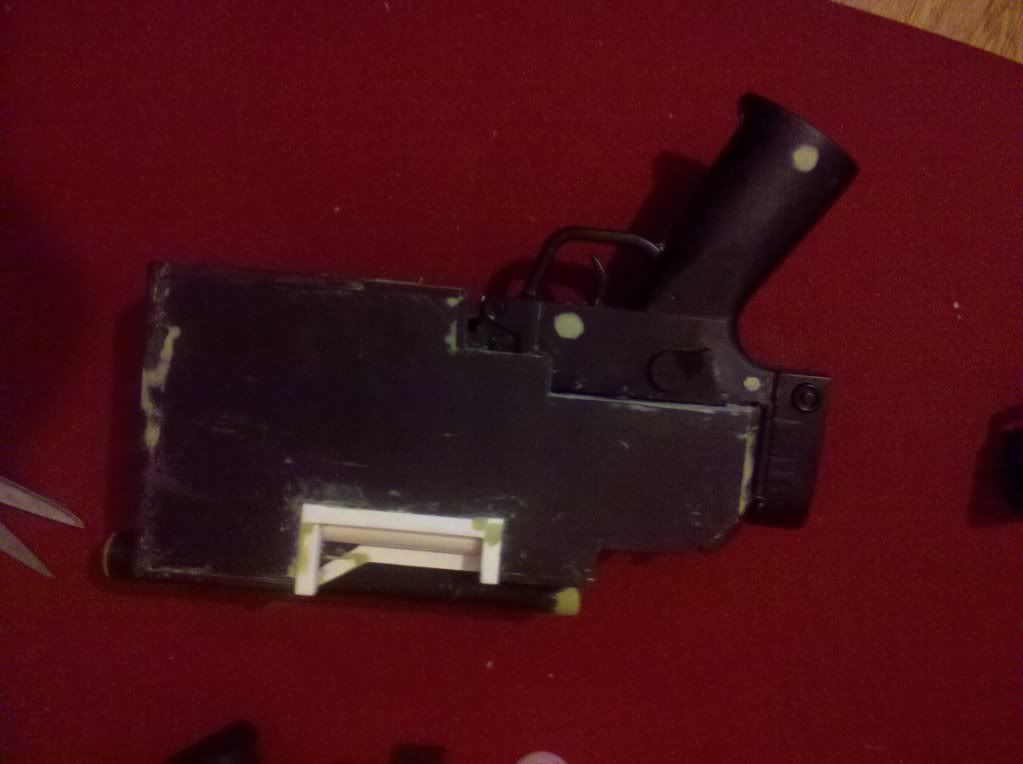
Added the sight and some more detailing (left gun)
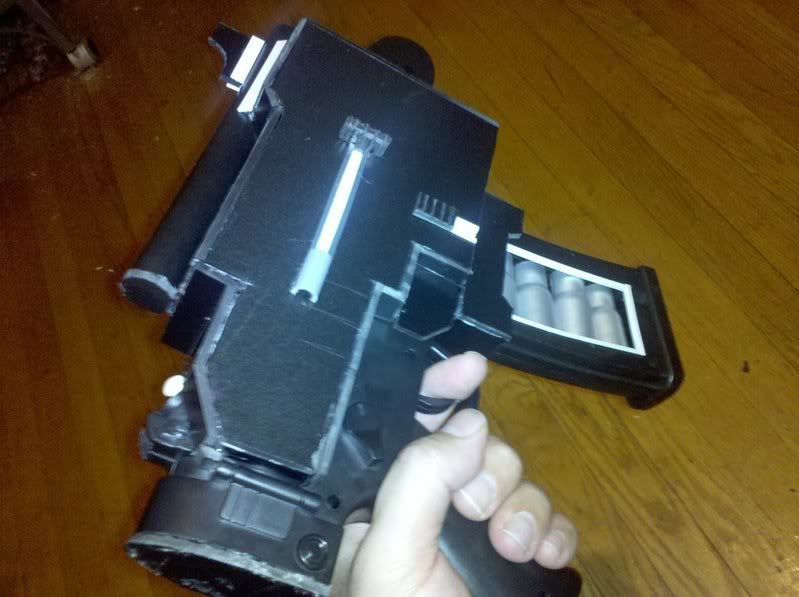
GF holding it ( temp barrel)
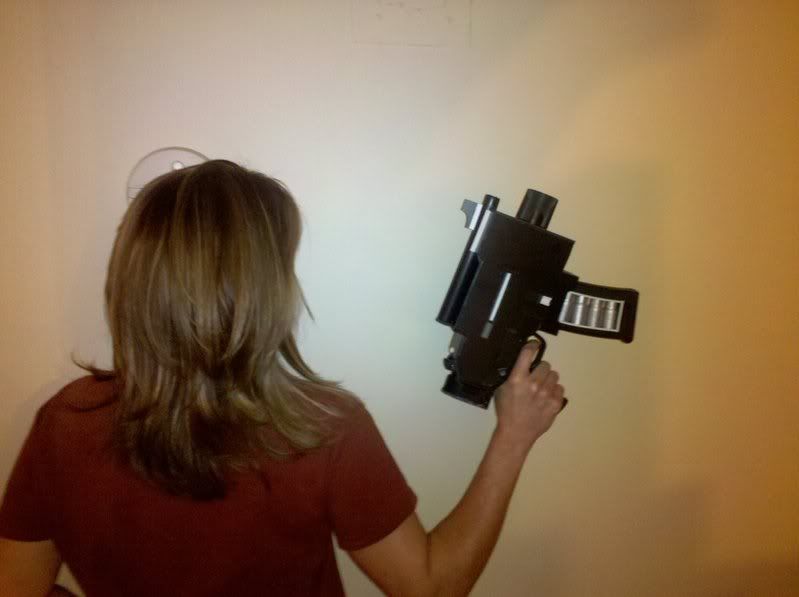
Right with Sight and added front detail.
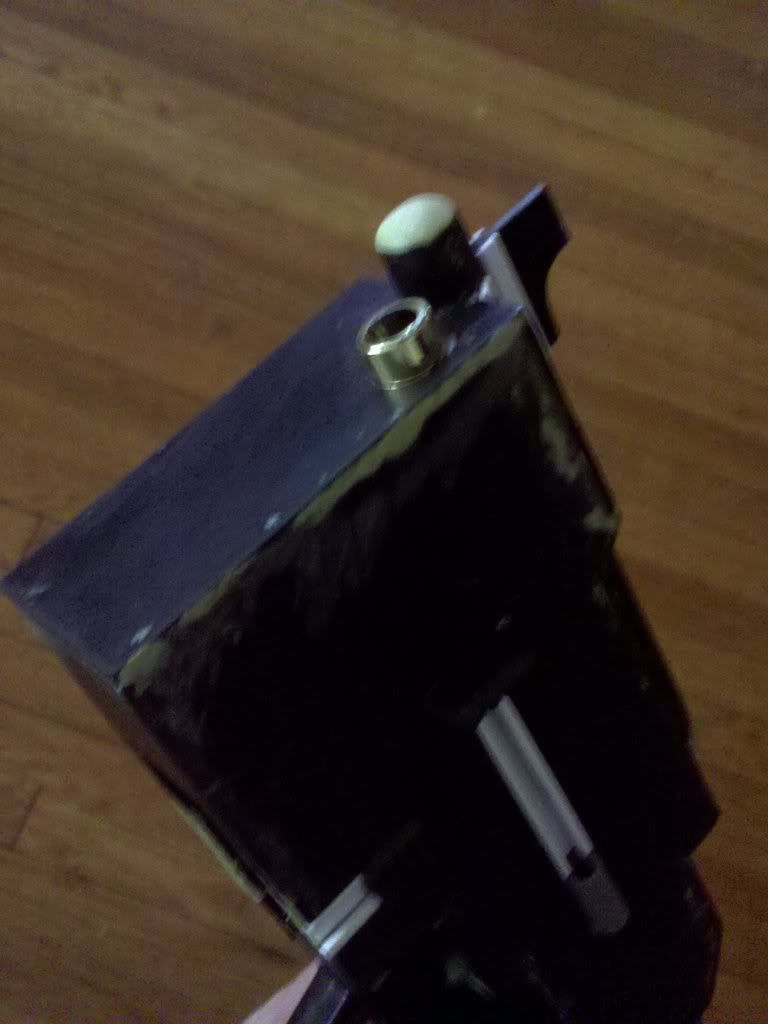
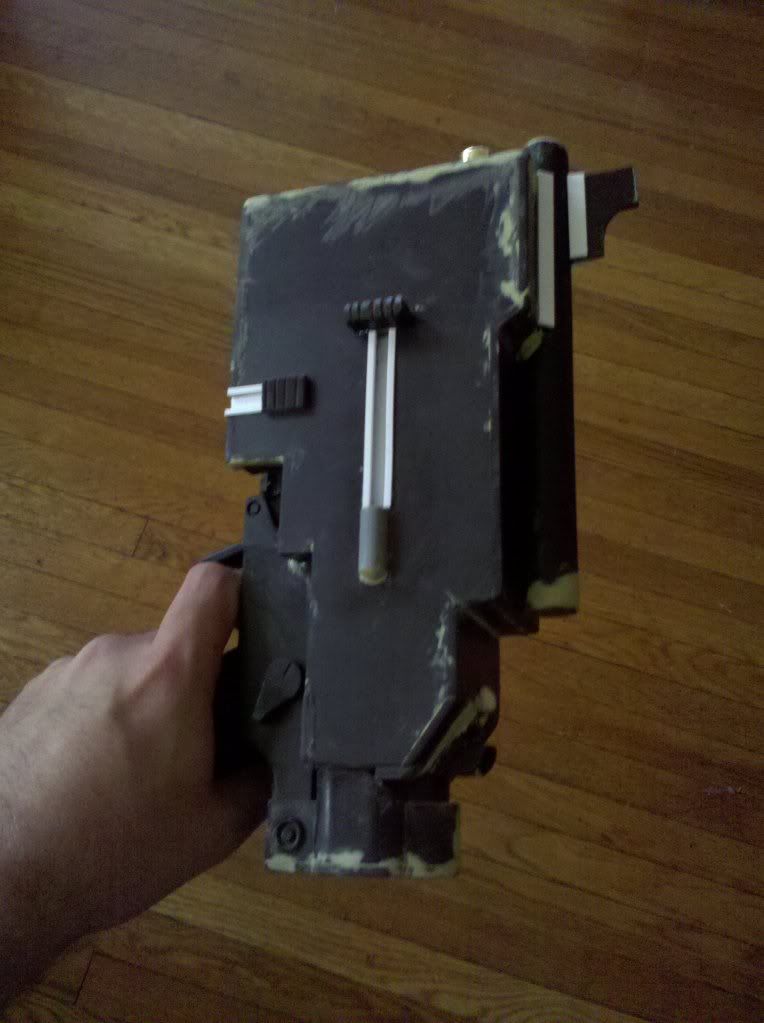
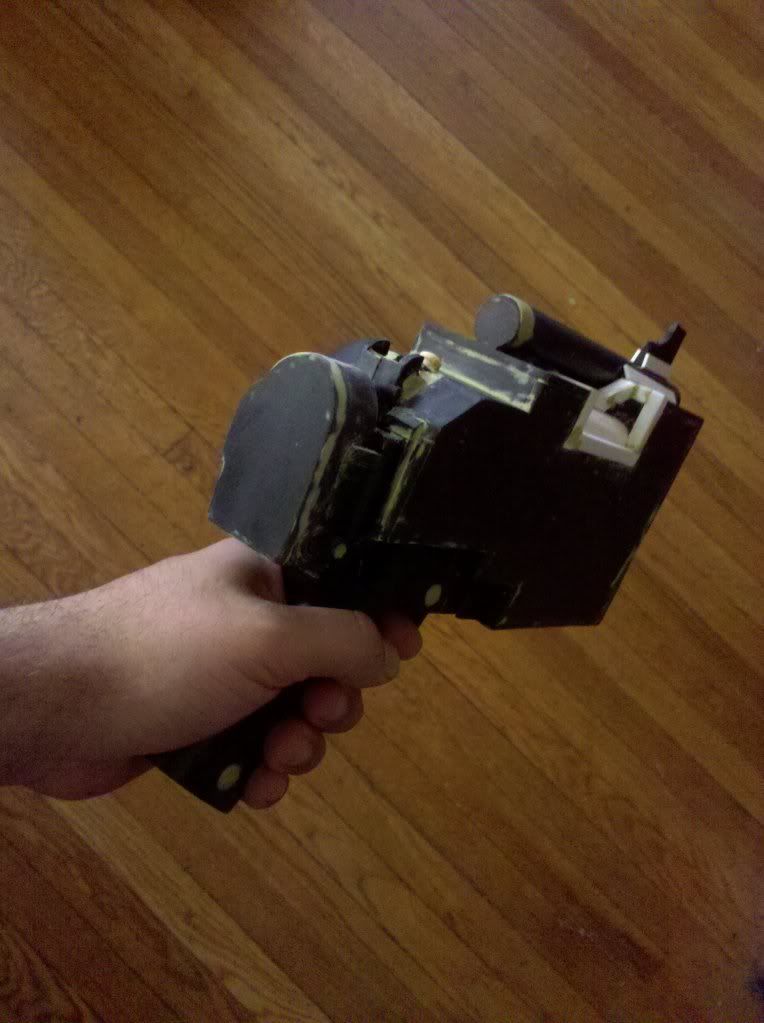
The Underside of the gun, cut out for magazine.
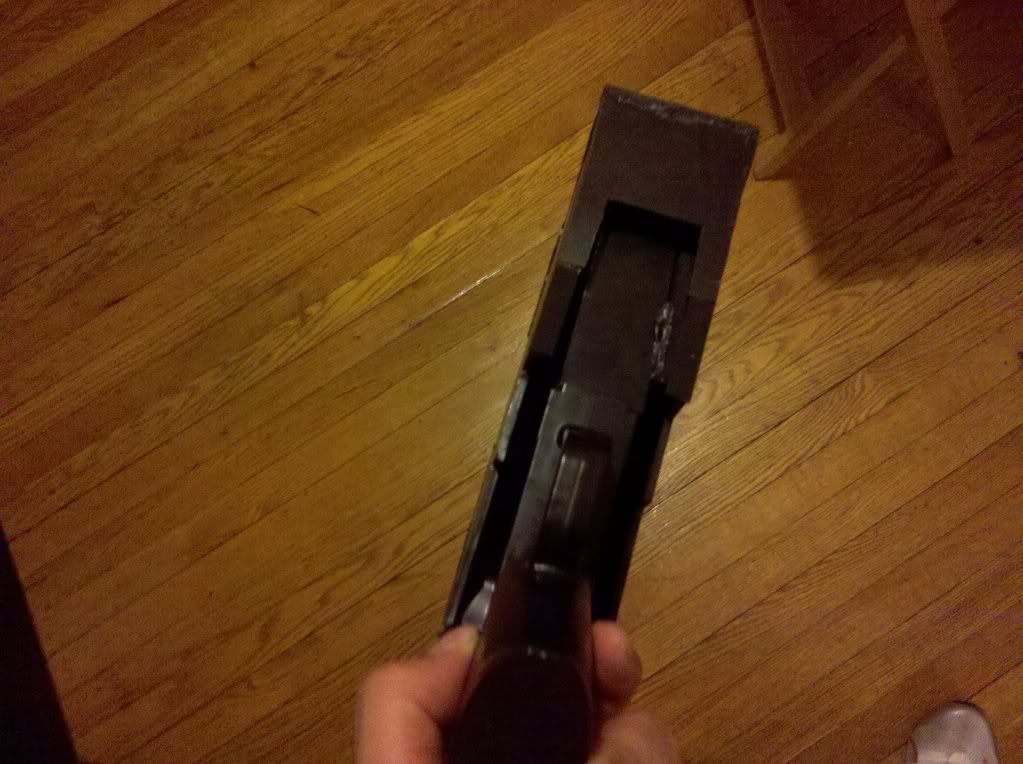
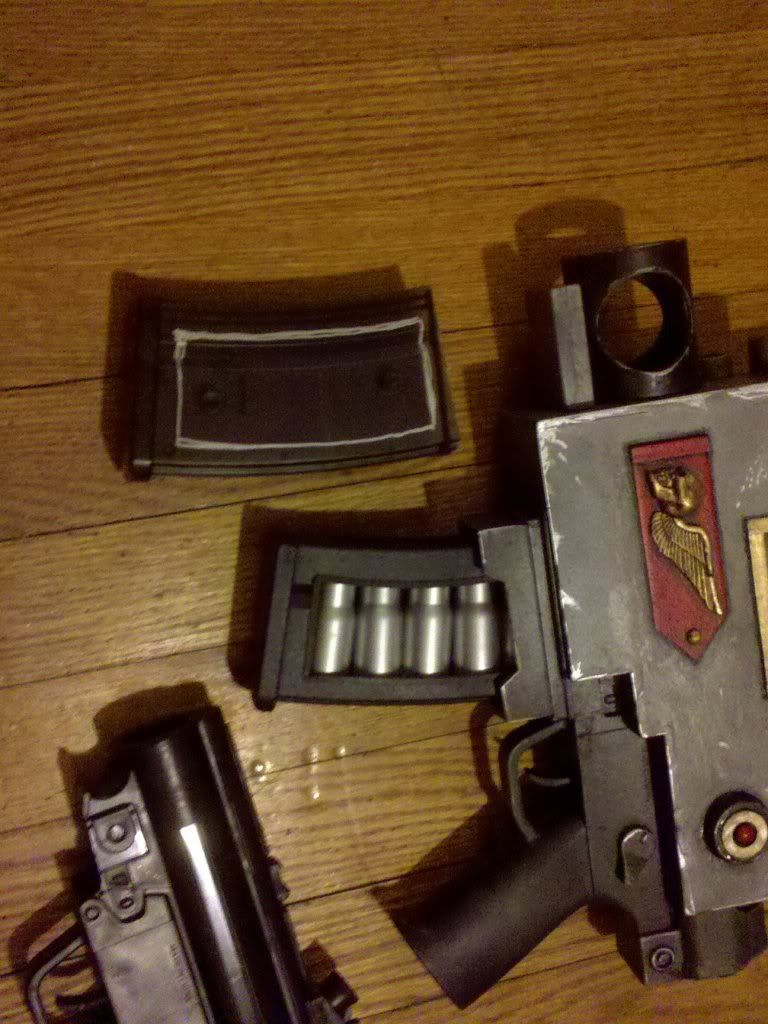
Made the Magazine housing.
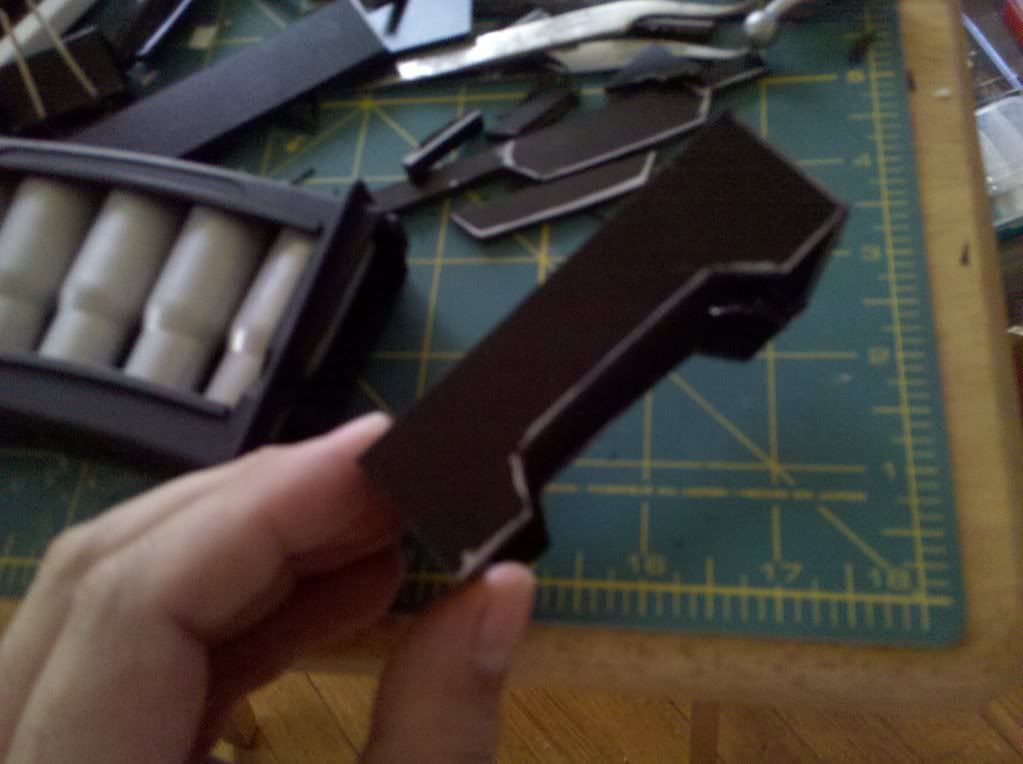
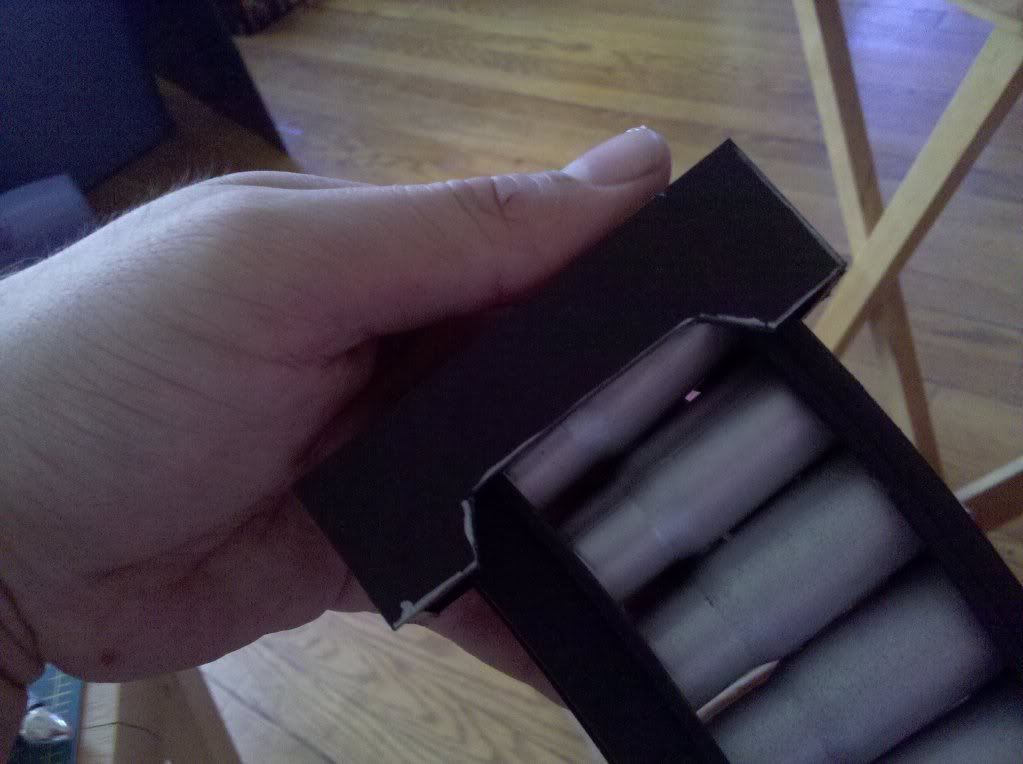
Test fit with clip.

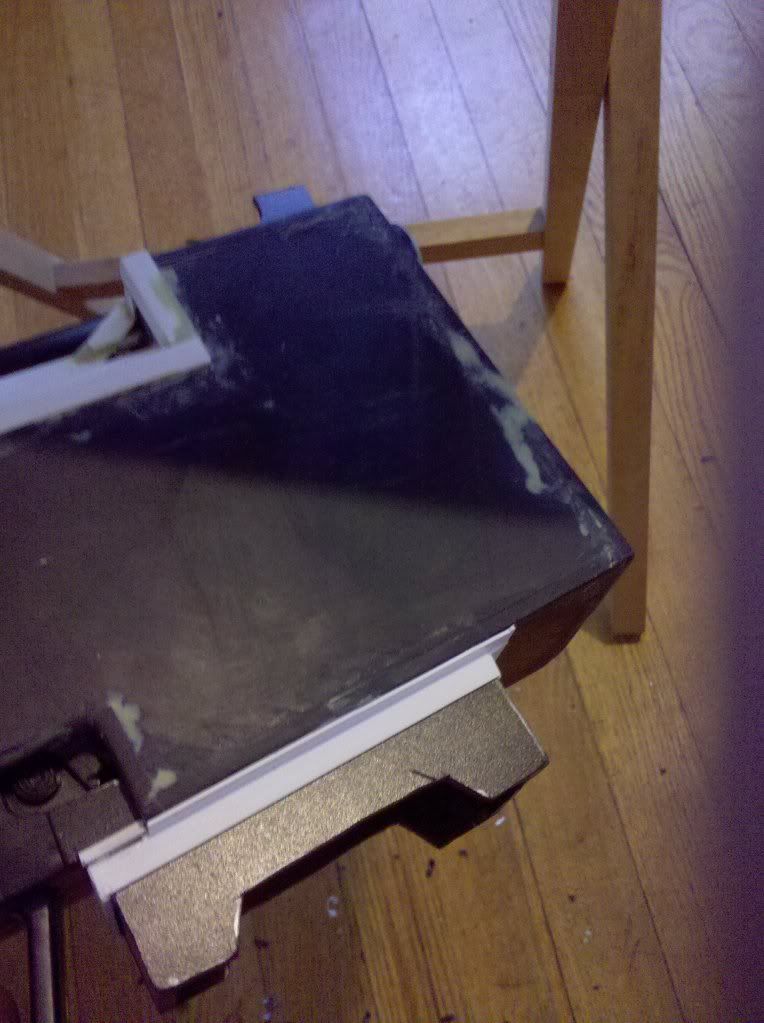
Attached to gun with "L" trim.

Testing barrels.
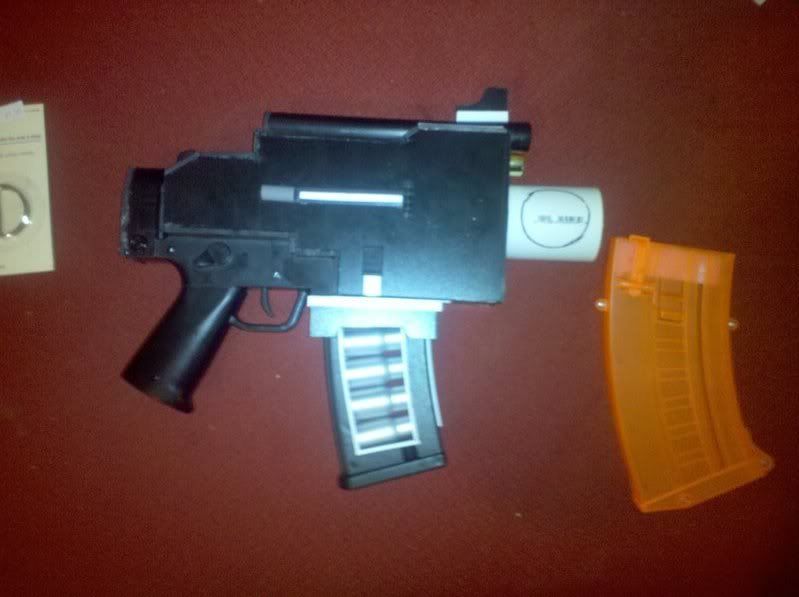
After finding one I liked, I used a power drill and a hole saw to cut it.Also pictured is the under barrel thingy ( don't know what it's called)

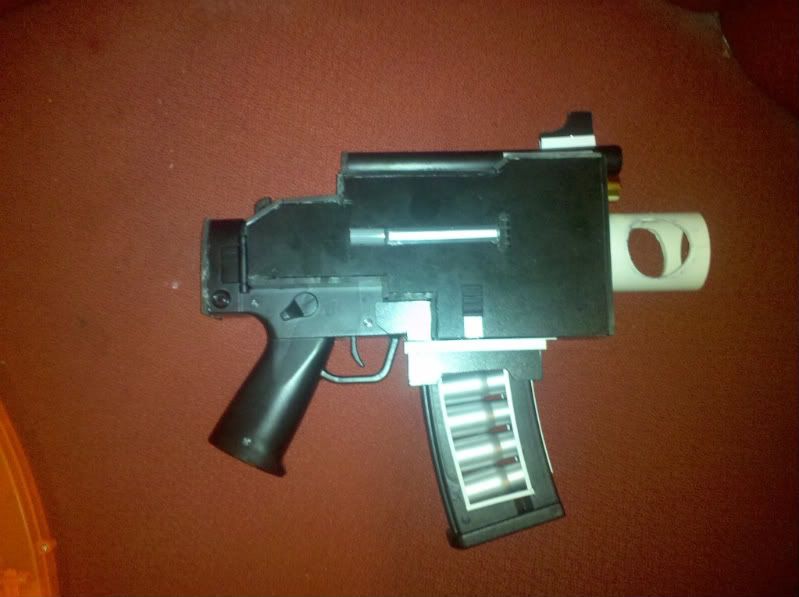

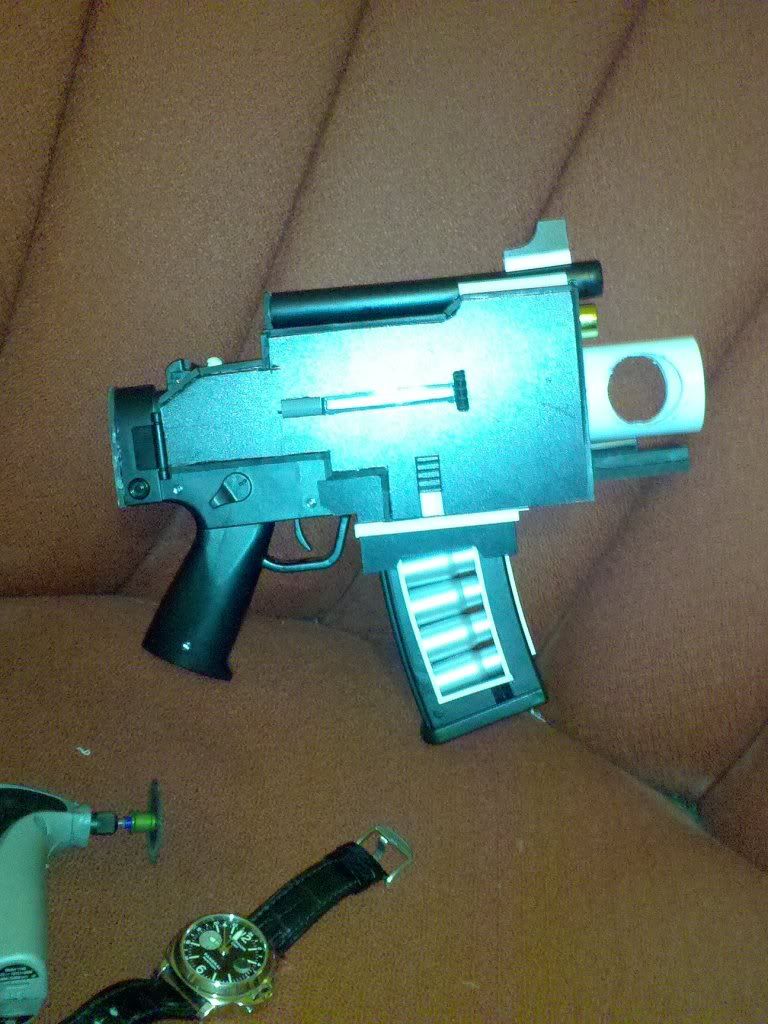
One painted and finished, one ready for paint.

Next time...the painting...[IMG]http://i201.photobucket.com/albums/aa258/BR_Calix/FriFeb19205844AmericaNew_York2010.jpg[/IMG]
Finnlock